Wet commutes, late shifts and a full washing basket can make uniform drying feel like a race against stale odours. When you need to dry work uniforms indoors, the aim is not just to get them dry, but to move moisture away quickly enough that bacteria and mildew smells do not build up.
The best results come from three things working together: a good spin cycle, space between garments and steady airflow. Heat helps only when damp air can escape, so a hot radiator in a closed room is often less effective than a well-spaced airer in a ventilated spot.
What to know first
- Musty smells usually come from uniforms staying damp for too long, not from indoor drying itself.
- Air movement matters more than high heat. A small gap between garments can shorten drying time noticeably.
- Thick areas such as waistbands, cuffs, collars, apron ties and fleece seams need extra attention.
- Never put a uniform away because it feels “nearly dry”. Residual damp trapped in folds can sour overnight.
- If a garment already smells musty after drying, airing alone rarely fixes it. Rewash it before the smell sets further into the fibres.
Why uniforms go musty indoors
Work clothing often holds more moisture than casual clothing because it is worn for long periods and picks up sweat, outdoor damp, food smells, dust or workplace residues. Polycotton shirts, polyester polos, aprons, tunics, black trousers and work fleeces can all dry unevenly, especially around seams and layered sections.
The musty smell develops when moisture remains trapped long enough for odour-causing bacteria to multiply. This can happen when laundry sits in the washing machine after the cycle ends, when an airer is overloaded, or when clothes are dried in a closed room with no route for humid air to leave.
Indoor drying is common in the UK because outdoor drying is not always realistic, particularly in flats, shared homes, winter weather or homes without a garden. The key is to treat drying as a controlled airflow job rather than simply hanging everything wherever there is space. For a broader setup view, see our guide to how to plan a laundry drying setup that protects clothes.
Step 1: Start before the uniform reaches the airer
A uniform that comes out of the machine too wet has already made indoor drying harder. Before starting the wash, avoid stuffing the drum tightly. Uniform shirts, trousers and fleeces need room to rinse and spin properly, and an overloaded drum can leave items wetter and more creased.
Use the detergent dose recommended for your water hardness and load size. Too much detergent can leave residue that traps odours; too little may not shift sweat and daily grime. For sensitive skin or healthcare-style uniforms, many households prefer non-bio detergent, but the most important point is correct dosing and thorough rinsing.
If the care label allows it, use an additional spin cycle for heavier items such as trousers, tunics, aprons and fleeces. Do not do this with delicate, structured or labelled garments where the care instructions warn against higher spin speeds. The drier the garment is when it leaves the machine, the less time it spends in the musty-smell danger zone.
Remove laundry as soon as the cycle finishes. Even clean uniforms can start to smell stale if they sit warm and damp in the drum, particularly overnight. Shake each item out before hanging so sleeves, cuffs, hems and pocket linings are not folded into damp clumps.
Step 2: Give every garment enough space
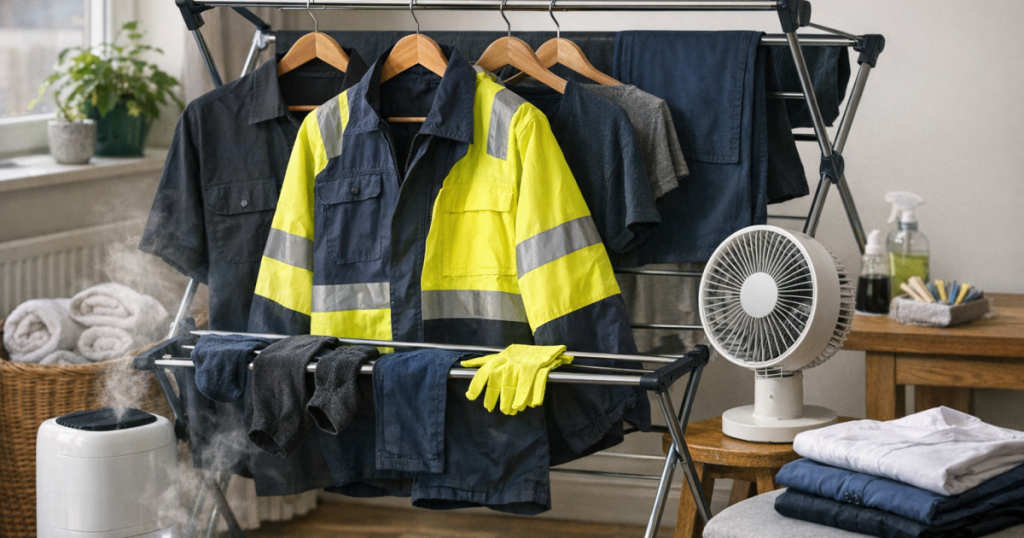
The most common indoor drying mistake is treating the airer like storage. If each rail is packed with overlapping shirts and trousers, moisture has nowhere to go. Spread uniforms out so air can reach both sides of the fabric.
- Hang shirts and tunics from the shoulders on hangers, then place them on the airer or a rail with space between each one.
- Fold trousers over the airer at the thigh rather than the waistband if the waistband is thick and slow to dry.
- Turn heavy polos, sweatshirts and fleeces inside out for part of the drying time, then turn them back to finish the outer surface.
- Clip aprons by the waistband or bib so ties hang freely rather than twisting around the main fabric.
- Keep high-friction items such as work fleeces away from rough rails if they are prone to pilling.
If you have more uniform than airer space, prioritise what is needed first. Dry tomorrow’s shirt, trousers or tunic with the most open spacing, then dry bulkier spare items afterwards. A cramped full load often takes longer than two smaller, better-spaced drying sessions.
Step 3: Use airflow, not trapped heat
A warm room can still produce musty uniforms if the damp air remains trapped. Position the airer where air naturally moves: near a slightly open window, close to an extractor fan after showering has finished, or in a room where a door can be left open to encourage circulation.
Short bursts of ventilation are often useful in cold weather. Opening a window slightly for 10 to 15 minutes can release humid air without making the whole room uncomfortably cold. If condensation forms on windows, mirrors or cold walls, the room is holding too much moisture for efficient drying.
A dehumidifier can help in damp homes, but it still needs sensible garment spacing to work well. Place it in the same room as the airer and follow the manufacturer’s instructions for clearance, water tank use and safe operation. Do not wedge electrical appliances under dripping garments or block vents with fabric.
Radiators can dry small areas quickly, but they are not a complete solution for full uniforms. Draping damp clothing directly over radiators can create condensation, stiffen fabrics, set creases and leave thick sections damp. If you use radiator warmth, keep clothes on an airer nearby rather than layered directly over the radiator, unless the garment label and radiator setup make that suitable.
Step 4: Match the method to the uniform fabric
Polycotton shirts and blouses
Polycotton is common for work shirts because it tends to be practical and relatively quick to dry. Shake shirts sharply after washing, fasten the top button if it helps the collar sit evenly, and hang from a shaped hanger. Smooth the placket, cuffs and collar while damp to reduce ironing later.
Black trousers and tailored workwear
Trousers often stay damp at the waistband, pocket bags and hems. Hang them with the waistband opened and pockets pulled out slightly where possible. If they are folded over a rail, move the fold point after a few hours so one damp crease is not trapped all day.
Fleeces and work sweatshirts
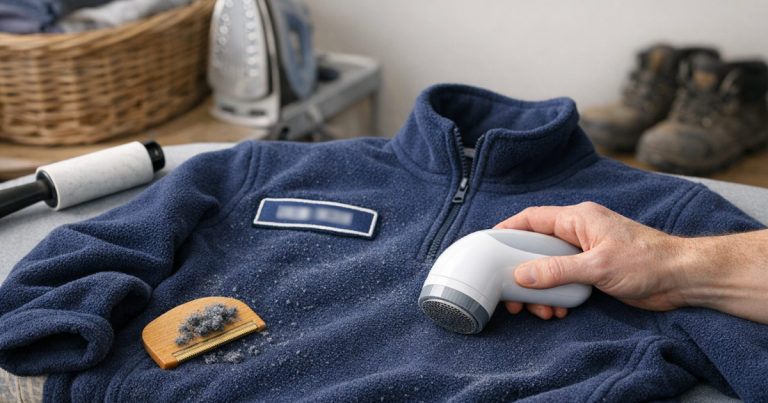
Fleece can hold moisture in seams and cuffs while feeling dry on the surface. Turn it inside out first, then reverse it later. Avoid rubbing, wringing or hanging heavy wet fleece from narrow points, as this can distort the shape and encourage surface wear. If pilling is already an issue, our advice on how to remove bobbles from work fleeces safely will help you tidy the surface without being too aggressive.
Aprons, tunics and hospitality uniforms
Aprons and tunics can trap smells from food, oils or warm environments. Give these items the most airflow you can, especially around ties, underarm panels and pocket seams. Avoid bunching several aprons together on one hanger because the ties can stay damp long after the main panel feels dry.
High-vis and logo garments
Always follow the care label on high-vis, printed or logoed workwear. Heat, rough handling and unsuitable drying can affect reflective strips, transfers or printed branding. Hang these garments open, avoid direct high heat unless the label allows it, and check that reflective or printed areas are fully dry before storing.
Step 5: Choose the right room
The best room is not always the warmest one. It is the room where moisture can leave. A spare room with a window slightly open and the door ajar may work better than a small bathroom that is already humid from showers.
- Good choices: a ventilated utility area, spare room, landing with airflow, or a room where a dehumidifier can run safely.
- Use with care: kitchens and bathrooms, because they already produce moisture and odours.
- Avoid where possible: closed wardrobes, cupboards, unventilated bedrooms and corners with visible condensation or mould.
If you dry uniforms in a bedroom, try to finish drying before bedtime or ventilate well. Damp laundry increases room humidity, which can make windows stream with condensation and slow the drying process further.
Step 6: Check the slow-drying areas before storage
Uniforms can fool you by feeling dry across the main panels while still holding dampness in thicker areas. Before putting anything away, check the collar, cuffs, underarms, waistband, pockets, hems, zip areas, apron ties and fleece cuffs.
Use touch and smell together. A clean, fully dry uniform should feel room-temperature and neutral. If one area feels cool, clammy or slightly sour, keep it out. Do not fold it into a drawer, gym bag, locker or wardrobe, because trapped dampness can spread odour to other clothing.
If the uniform has dried but smells musty, rewash it rather than masking the smell with sprays. Use a suitable wash programme for the fabric and allow it to dry with better airflow next time. Persistent odour may be a sign that the garment was left damp repeatedly, washed at too low a temperature for the soil level, or stored before fully dry.
Finishing uniforms after indoor drying
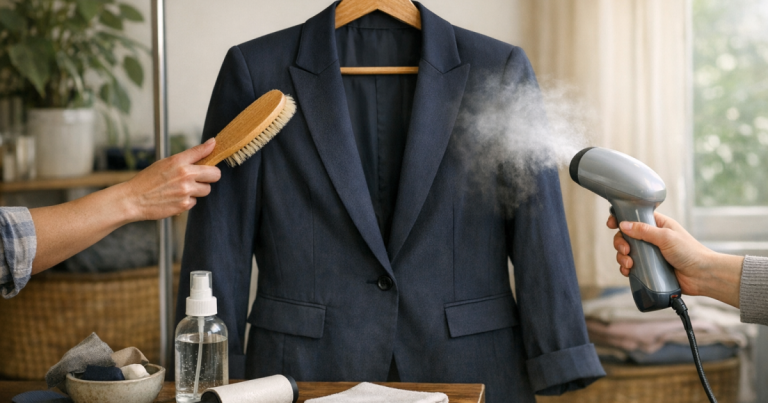
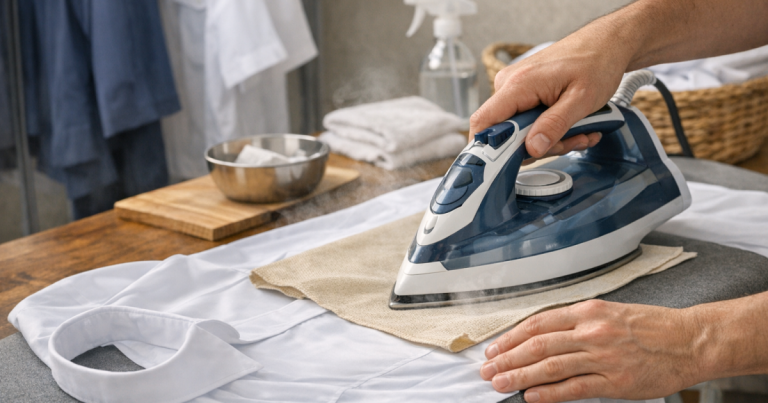
Once uniforms are fully dry, finishing them properly helps them stay fresh and wearable. Iron or steam shirts, blouses and tunics only when they are dry enough for the fabric care label. Pressing a still-damp, musty-smelling garment can set creases and make odours harder to shift.
For households dealing with several shirts or school-style uniform pieces each week, efficient ironing can make the whole laundry routine easier. Our guide to steam generator irons for school uniforms and shirts explains when a higher-output iron is useful for repeat laundry loads.
Let freshly ironed uniforms cool before storing. Warm fabric can carry a little residual moisture, especially around collars and seams. Hang shirts with space around them, fold trousers only when fully cool, and keep spare uniforms away from damp coats, gym kit or work bags.
A simple indoor drying routine for work nights
- Wash uniforms as soon as practical rather than leaving sweaty items in a basket for several days.
- Use the highest spin speed allowed by the care label, or add a separate spin for robust items.
- Remove items promptly, shake them out and separate heavy pieces from lighter shirts.
- Hang tomorrow’s essentials with the most space and airflow.
- Ventilate the room in short bursts or use a dehumidifier where suitable.
- Turn fleeces, sweatshirts and thick trousers part-way through drying.
- Check cuffs, collars, waistbands and pockets before putting anything away.
Questions people ask
Can I dry a uniform overnight indoors?
Yes, if it has enough space, airflow and ventilation. Avoid leaving it in a closed, damp room or folded over itself, as this is when musty smells are most likely.
Why does my uniform smell musty even after washing?
It may have stayed damp too long, been washed in an overloaded machine, or dried too slowly. Rewash it, remove it promptly from the drum and dry it with better spacing.
Is it better to dry uniforms on hangers or an airer?
Shirts, blouses and tunics often dry better on hangers because air reaches the body and sleeves evenly. Heavy trousers and fleeces may need an airer so their weight is supported.
Should I open a window when drying clothes indoors?
A short window opening helps release humid air, especially if condensation is forming. In cold weather, brief ventilation is usually more practical than leaving a window wide open for hours.
Can I put a slightly damp uniform in the airing cupboard?
Only do this with caution. A warm cupboard with poor airflow can trap moisture and create stale smells. Uniforms should be almost completely dry and spaced so air can circulate.
What stands out
Indoor drying does not have to mean stale uniforms. The biggest improvements come from removing more water in the spin cycle, hanging garments with space around them, and giving damp air somewhere to go.
For workwear, pay special attention to the parts that dry last: collars, cuffs, waistbands, pockets, seams and fleece edges. If those areas are dry before the uniform goes into a wardrobe, drawer, locker or bag, you are far less likely to face musty smells the next morning.