The right way to space clothes on an airer can cut drying time, reduce musty smells and help fabrics keep their shape indoors. Most slow-drying loads are not caused by the airer itself, but by blocked airflow, overlapping fabric and too much wet laundry in one corner. A few small changes to how you hang each garment usually make more difference than adding extra heat.
The short version
- Leave visible gaps between garments so air can pass through the rails, not just around the outside.
- Put heavier items such as jeans, hoodies and towels on the outer rails or higher points where air reaches them first.
- Use alternate rails for thick fabrics rather than filling every bar.
- Hang shirts, T-shirts and trousers in single layers wherever possible.
- Keep knitwear flat or supported so faster drying does not come at the cost of stretching.
- Place the airer where moisture can escape, using ventilation or a dehumidifier rather than trapping damp air in a closed room.
Start with airflow, not rail count
An airer looks as though every rail is there to be filled, but that is not how fabric dries fastest. Wet clothes release moisture into the air immediately around them. If every rail is packed, the damp air becomes trapped between layers and drying slows down even when the room feels warm.
A better approach is to treat the airer as an airflow frame. The aim is to create channels where air can move between garments, through sleeves, around waistbands and underneath thicker items. This is why a half-full airer in a cool but ventilated room can dry more effectively than a fully loaded airer in a warm, still corner.
As a simple rule, if two garments are touching when you stand back from the airer, they are too close. If a sleeve, towel edge or trouser leg is draped over another item, that hidden contact point will stay damp long after the exposed fabric feels dry.
Step 1: Shake and separate before hanging
Before you load the airer, shake each garment open. This sounds basic, but twisted seams, rolled hems and bunched sleeves can add hours to drying time. It also helps reduce creasing, which matters if you want to avoid extra ironing later.
Check the spin cycle has done its job before you start hanging. Clothes should feel wet, not dripping. If a cotton hoodie, towel or pair of jeans is still holding a lot of water, a separate spin may help, provided the care label allows it. Do not wring delicate fabrics aggressively, as this can distort fibres and leave permanent creases.
This is also the point to sort the load by fabric weight. Put heavy cottons, denim and towels in one pile; lighter T-shirts, underwear and synthetics in another; and knitwear or delicate items separately. Once you organise the load this way, it becomes much easier to space clothes on an airer without creating damp clusters.
Step 2: Put the slowest-drying items in the best airflow
The heaviest items should not be hidden in the middle of the rack. Jeans, sweatshirts, thick joggers and towels need the most air, so place them on the outside rails, across the top, or on the widest sections of the airer. They should have open space beside them, not a line of smaller clothes pressed up against them.
For jeans and trousers, avoid folding them neatly in half over one rail if you have space to do better. A deep fold creates a thick wet crease at the rail. Instead, hang them with the waistband over one rail and the legs falling apart slightly, or spread each leg across separate rails if the airer shape allows. The aim is to expose both inner and outer fabric surfaces.
For hoodies, open the body, pull the sleeves out straight and avoid leaving the hood bunched at the back. The hood and cuffs are usually the last areas to dry, so position them where they are not trapped against other garments.
Step 3: Use alternate rails for thick fabrics
Filling every rail is the most common airer mistake. For thick items, leave one empty rail between garments where possible. This may feel wasteful, but it gives moisture somewhere to go and stops one wet item from feeding dampness into the next.
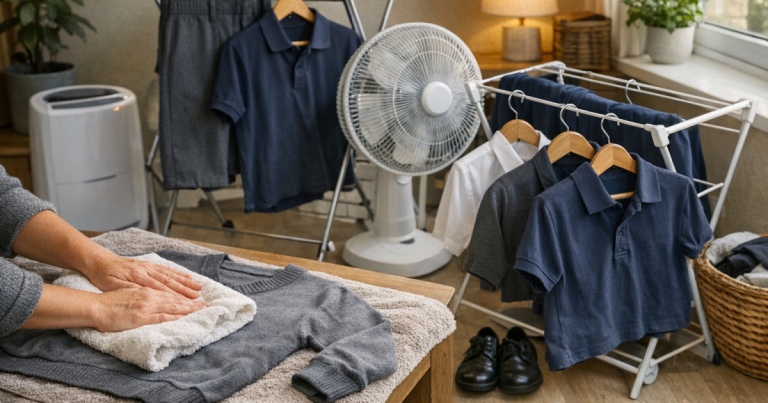
On a winged airer, place bulkier pieces on the upper or outer rails and reserve the inner rails for lighter items. On a tower airer, avoid filling one whole tier with heavy cotton; spread weight and dampness across different levels. On a three-tier airer, stagger items so the wettest garment on one tier is not directly above another thick item below.
If you regularly dry full family loads indoors, the airer design matters as much as the hanging method. A wider rack with better separation between rails is easier to use well than a narrow rack that encourages bunching. For a real-home example of how rack layout affects indoor drying, see our Vileda 3-Boom drying rack review.
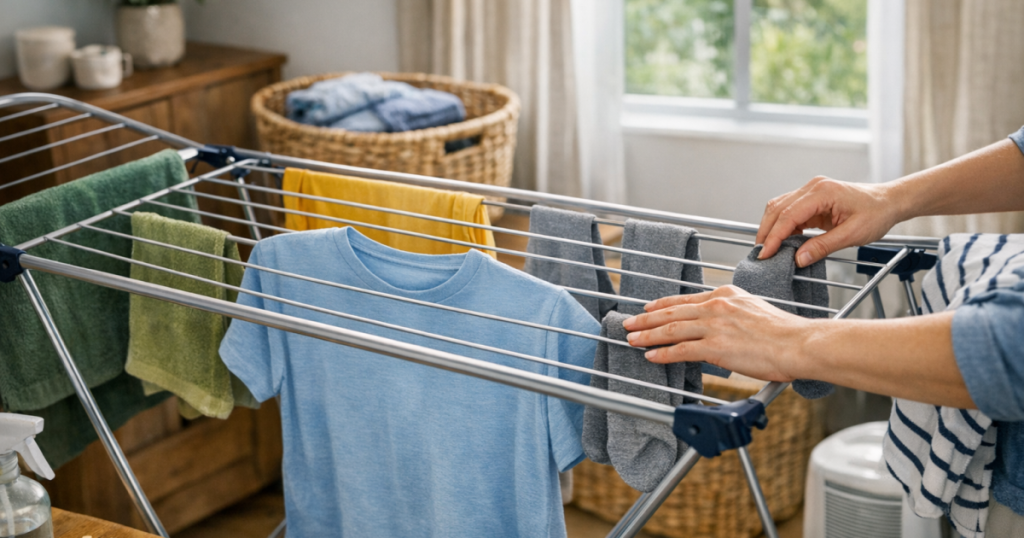
Step 4: Hang lighter clothes in single layers
Light garments dry quickly when they are not smothered by heavier ones. T-shirts, sports tops, pyjama tops and thin cotton shirts should be opened out rather than folded into compact strips. A T-shirt draped flat over one rail may dry, but it dries faster if the front and back are separated enough for air to reach the inside.
If your airer has outer corners or raised wings, use them for shirts and T-shirts that can hang down freely. Keep sleeves loose rather than tucked over the body. For buttoned shirts, fastening the top button or one middle button can help the garment keep its shape while leaving the front open enough for air to circulate.
Underwear, socks and children’s clothes can fill smaller gaps, but avoid creating a dense wall of small items. Socks dry better when paired near each other but not folded together. Waistbands on pants and leggings are thicker than they look, so give them a little more space than thin fabric panels.
Step 5: Keep towels and bedding from blocking the whole rack
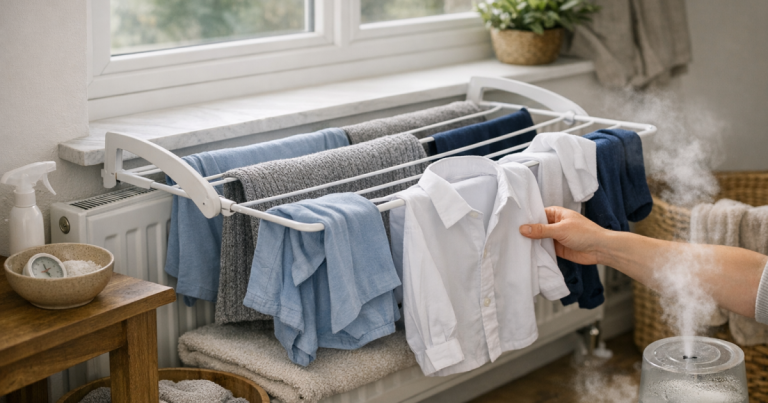
Towels are airflow blockers. A bath towel draped across several rails can create a damp curtain that stops air reaching the clothes behind it. If you need to dry towels indoors, hang each one over the outermost rail with as much length exposed as possible, or use two rails so the layers are separated.
For hand towels and tea towels, use the edges of the airer rather than the crowded centre. Do not layer several towels over the same rail. Even if the outside feels dry, the fabric touching the rail can remain damp and develop a stale smell.
Bedding needs a different approach. Sheets should be opened out and folded loosely only when necessary. If you drape a sheet over the entire airer, make sure it is not sealing moisture inside like a tent. Leave one side lifted, clipped or offset so air can move through the middle.
Step 6: Treat wool and knitwear differently
Faster drying is not useful if the garment ends up stretched. Wool jumpers, cashmere blends and many knitted cardigans should not be hung from rails when wet, because water weight can pull the shoulders, cuffs and hem out of shape. These items usually need flat drying on a towel or mesh surface, with gentle reshaping while damp.
If you are drying knitwear alongside ordinary laundry, give it a separate flat area rather than trying to squeeze it onto the airer bars. Place it where air can reach the top surface, then turn it once the upper side feels noticeably drier. For more detailed shaping and support advice, use our guide to drying jumpers flat without stretching them.
Delicate viscose, embellished tops and loosely woven fabrics also need care. Check the label and avoid pegging or hanging from narrow points that could leave marks. The best spacing method is the one that dries the garment without distorting it.
Step 7: Position the airer so damp air can leave
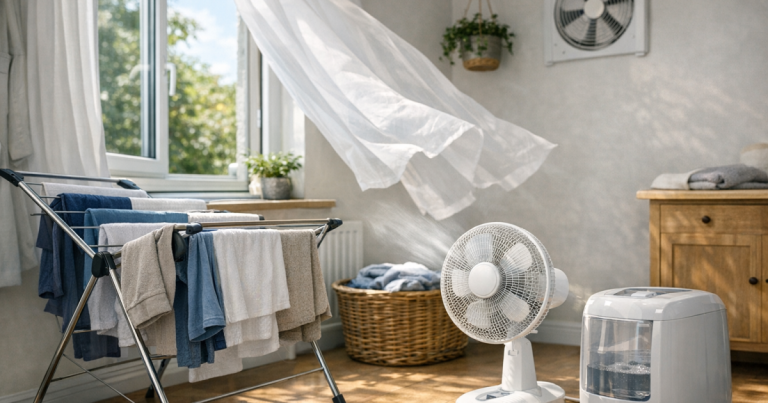
Spacing on the rack is only half the job. Once moisture leaves the fabric, it needs somewhere to go. In many UK homes, especially during colder months, laundry is dried in spare rooms, bedrooms or living areas where windows stay closed and moisture builds up quickly.
Place the airer away from walls, curtains and wardrobes. A gap around the rack helps air move and reduces the risk of condensation on cold surfaces. Avoid pushing an airer into a corner or directly against a radiator; local heat may dry one section quickly while sending moisture into the room, which can worsen condensation if there is not enough ventilation.
A dehumidifier can help when indoor drying is unavoidable, particularly in flats, smaller homes or rooms that already feel damp. The key is to use it with the door and window position that suits the machine and room, rather than assuming heat alone will solve the problem. Our guide on using a dehumidifier when drying laundry indoors explains the setup in more detail.
A simple spacing plan for a mixed load
For a typical mixed wash, start with the largest and slowest-drying pieces. Put jeans, hoodies or towels on the outer rails with empty space beside them. Next, add shirts and T-shirts where they can hang in single layers. Then use smaller gaps for underwear, socks and lightweight items.
A practical order looks like this:
- Outer rails: towels, jeans, joggers, sweatshirts and anything with thick seams.
- Upper rails or wings: T-shirts, shirts, pyjama tops and lighter cottons.
- Middle rails: smaller garments, spaced so they do not touch the heavier items.
- Lowest rails: only quick-drying pieces, because lower areas often get less airflow.
- Separate flat surface: wool jumpers, delicate knitwear and garments that may stretch.
If the whole load will not fit without touching, split it. Dry the heaviest items first, then add the lighter items later, or use a second airer. Overloading one rack usually makes the entire load take longer, so it rarely saves time in practice.
Common spacing mistakes that slow drying
- Folding thick items over narrow rails: this traps moisture at the fold and leaves a damp line.
- Hanging clothes in wet clumps: sleeves, trouser legs and waistbands need separating before they go on the rack.
- Using the centre only: the middle of a packed airer often has the worst airflow.
- Letting garments touch the floor: long items can pick up dust and dry unevenly if the ends bunch at the bottom.
- Mixing towels through the whole load: towels can block air from reaching lighter fabrics.
- Leaving dry items on the rack: remove garments as soon as they are dry so the remaining damp pieces get more space.
How to tell whether the spacing is working
Check the load after a couple of hours. The exposed areas should feel progressively drier, and the room should not smell damp or stale. If the outer fabric is drying but waistbands, cuffs and folds remain wet, the issue is usually trapped layers rather than lack of warmth.
Move slow-drying items during the process. Turn towels, rotate jeans, open out sleeves and remove dry small items. Indoor drying is not always a set-and-forget task; one quick rearrangement can prevent the last few damp patches from lingering overnight.
If clothes repeatedly smell musty after drying, review both spacing and room moisture. Musty smells usually mean laundry has stayed damp for too long, detergent has not rinsed well, or the room air is already humid. Better spacing helps, but it cannot fully compensate for a sealed, damp room.
Questions people ask
Should I leave every other rail empty?
For thick cotton, denim, towels and hoodies, yes, leaving alternate rails empty usually helps. For thin synthetic tops or underwear, you can use closer spacing as long as items are not touching or layered.
Is it better to dry clothes upstairs or downstairs?
Choose the room with the best ventilation and lowest damp risk, not simply the warmest room. Avoid rooms with condensation on windows, wardrobes close to the airer, or poor airflow around the rack.
Can I put an airer next to a radiator?
You can place it nearby, but avoid pressing clothes against the radiator or blocking heat circulation. Drying directly on radiators can increase condensation and may affect some fabrics, prints or elastics.
How do I space clothes on an airer when I have a large family load?
Prioritise the wettest and thickest items first, then add lighter pieces only where they have breathing room. If garments touch across most rails, split the load or use a second drying area.
Why are clothes still damp at the seams?
Seams, cuffs, waistbands and pockets contain extra layers of fabric. Open them out, place them in stronger airflow and turn the garment part-way through drying.
What stands out
Fast airer drying is mainly about spacing, fabric weight and moisture management. Give thick items the best airflow, avoid overlapping layers, remove dry pieces promptly and keep stretch-prone garments supported. A well-spaced airer may look less full, but it usually dries more evenly, smells fresher and is kinder to the clothes you want to keep wearing.