Everyday stains rarely arrive neatly labelled: lunch splashes, cuff grime, deodorant marks and school-uniform spills all need slightly different handling. A well-chosen stain remover kit gives you enough options to treat marks quickly without using harsh products on fabrics that do not need them.
The aim is not to own every stain product in the supermarket aisle. It is to keep a small, reliable set that covers the marks your household actually gets, while protecting colour, texture and stretch.
The short version
For most UK homes, a useful everyday set should include one general pre-treatment product, one targeted grease or protein stain option, one gentler choice for delicate or sensitive laundry, a soft brush or cloth, and a clear testing routine. Avoid building the kit around the strongest product first; match the treatment to the fabric, the stain type and the wash label.
- For food and drink: choose a general pre-wash gel, spray or oxygen-based product that is labelled for washable fabrics.
- For greasy marks: keep a targeted degreasing stain remover for cooking oil, bike grease or workwear grime.
- For delicates: use a milder liquid, careful hand treatment and minimal rubbing.
- For white cottons: consider products labelled for whites, but keep them away from colours unless the label says otherwise.
- For coloured everyday clothing: prioritise colour-safe wording and always test inside a hem or seam.
Step 1: Start with the stains you see most often
A good kit is personal. A household with nursery clothes and school uniforms needs different stain support from someone mainly treating shirts, gym kit and work trousers. Before buying anything, think through the last few loads of washing. Were the marks mostly food, oil, mud, make-up, sweat, ink, grass or unknown grey smudges?
Once you know the pattern, choose products that fill real gaps. For example, a general pre-treatment spray may be enough for tomato sauce and cuff marks, but it may struggle with older bike-chain grease or cooking oil. If grease is a regular problem, a targeted product and a better pre-wash routine are worth more than several similar all-purpose sprays. For heavier workwear marks, the process in our guide to removing grease stains from work trousers is a useful next step.
Step 2: Cover the main stain families
Most everyday laundry marks fall into a few broad groups. Your stain remover kit only needs to cover these sensibly; it does not need a separate bottle for every possible accident.
Food, drink and general spills
These include tea, coffee, fruit juice, sauces, chocolate and everyday unknown marks. A general pre-wash product is usually the core item here. Look for clear instructions on whether it should be applied before washing, how long it can sit on fabric, and whether it is suitable for colours, whites or both.
Grease, oil and body-soil marks
Cooking oil, salad dressing, collar grime, sunscreen residue and workshop grease need a product that can help break down oily soil. Do not scrub aggressively, especially on jersey, viscose, wool blends or elastane-rich fabrics. Work gently from the outside of the mark inwards and wash according to the care label.
Protein stains
Blood, egg, milk and some sweat stains behave differently from oily marks. Hot water can set some protein stains, so the first check is usually the wash label and the product instructions. A targeted stain remover may help, but the wrong water temperature or long delay can make the stain harder to shift.
Delicate and textured fabrics
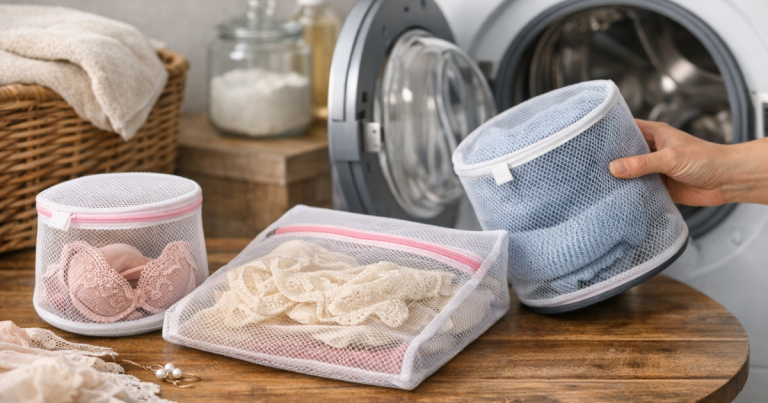
Lace, silk blends, viscose, wool and fine knits need a softer approach. A strong stain remover and a stiff brush can distort fibres, roughen texture or pull at trims. If the garment is lace or very fine, use the same level of caution you would use when hand washing lace lingerie without snagging: support the fabric, avoid twisting, and keep rubbing to a minimum.
Step 3: Choose product formats that match your routine
Stain removers come as sprays, gels, bars, powders, wipes and targeted liquids. None is automatically best for every household. The right format is the one you will use correctly before the stain has had time to settle.
- Sprays: convenient for collars, cuffs and school uniform marks, but can be easy to over-apply.
- Gels: useful when you want more control over a small area, such as a sauce spot or oily patch.
- Bars: compact and long-lasting, though they need careful, gentle handling on delicate fabric.
- Powders: often used as soakers or wash boosters; check whether they are suitable for colours, wool, silk or synthetics.
- Targeted liquids: helpful for recurring stain types, but the label matters because not all are suitable for every fibre.
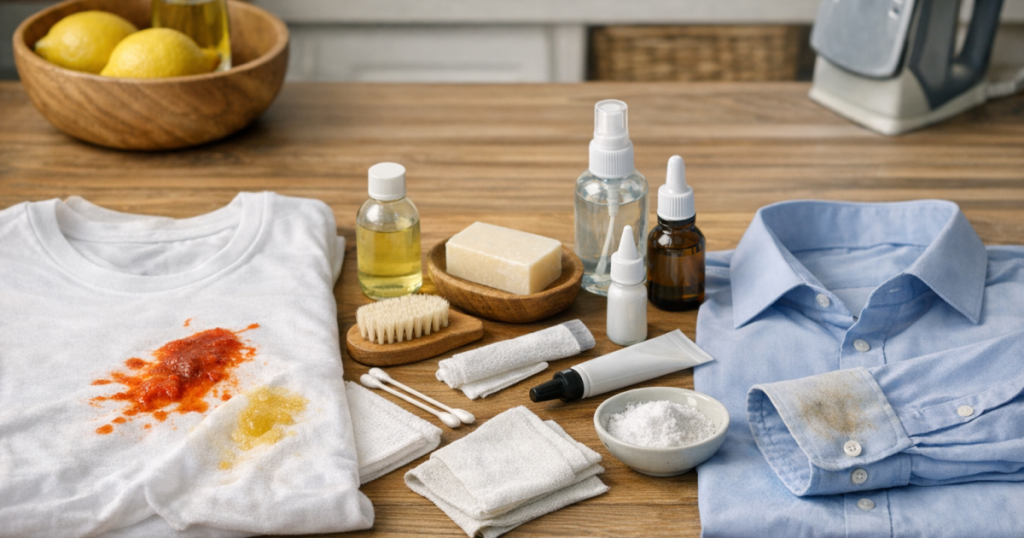
A small everyday stain remover kit might combine a general gel, a grease-focused option and a mild colour-safe product. For example, Vanish Oxi Action Multi Power Gel is a common all-purpose pre-treatment to compare, while Dr. Beckmann Stain Devils Fat & Sauces is the sort of targeted product people often consider for oily food marks. Always verify the current label instructions, fabric suitability and contact time before using any named product.
Step 4: Add the right tools, not just more bottles
The non-product parts of the kit are just as important. Rough scrubbing causes more garment damage than many people realise, particularly on dark cotton, ribbed jersey, viscose and printed fabrics.
- White cotton cloths: useful for blotting without transferring dye from a coloured cloth.
- A soft laundry brush: better for sturdy cotton and workwear than for fine knits or delicates.
- A small bowl: handy for controlled soaking or rinsing small areas.
- Measuring spoon or cap: helps prevent over-dosing concentrated products.
- Sticky labels or a marker: useful for noting when a product was opened, especially if you keep several bottles.
Keep the tools clean and separate from household cleaning supplies. A brush used with bathroom cleaner, bleach or general-purpose sprays should not be used on clothes.
Step 5: Check fabric compatibility before stain strength
The best stain result is not just a cleaner patch; it is a cleaner patch on a garment that still looks and feels right. Before applying anything, check the care label, fibre content and finish. Cotton school polo shirts, polyester sportswear, wool jumpers and viscose dresses all respond differently to heat, soaking and rubbing.
Use a hidden test area for coloured garments, prints, embroidery and dark fabrics. Apply a tiny amount of product, wait as instructed, blot, rinse and check for colour change or texture roughening. If a garment is dry-clean only, heavily embellished or sentimental, avoid home stain experiments that could spread the mark or disturb trims.
If you prefer lower-fragrance or gentler options for frequent laundry, compare ingredients and real-use limitations carefully. Our gentle stain remover review looks at the sort of everyday suitability questions worth asking before relying on one product for the whole basket.
Step 6: Pair stain treatment with the right detergent and wash
A stain remover is only part of the process. The main wash still needs to remove loosened soil without stressing the fabric. Choose a detergent that suits the household, the garment type and skin preferences, then wash at the temperature allowed by the care label.
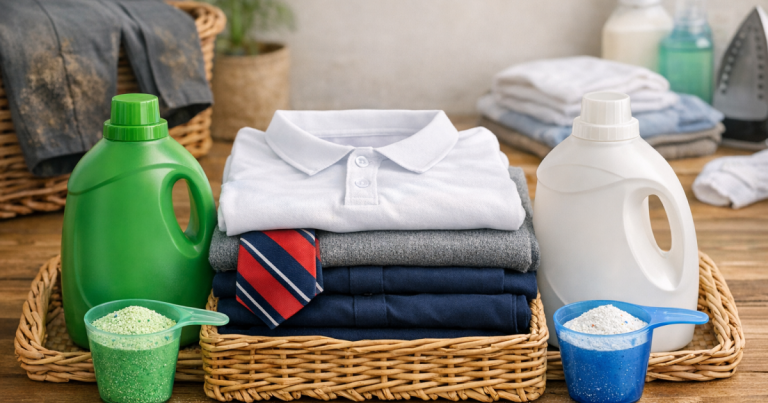
For robust cottons and mixed everyday loads, a powder such as Ariel Original Washing Powder is one familiar option to compare against your usual detergent. For households that prefer a non-bio liquid, Fairy Non-Bio Laundry Detergent is another common supermarket choice. These are not stain-remover replacements; they are part of the wider wash system, so check dosing, fabric suitability and wash instructions each time.
Common mistakes to avoid
- Using the strongest product first: this can fade colour or roughen texture before you know whether a milder treatment would work.
- Leaving product on too long: contact time matters. Longer is not automatically better.
- Rubbing stains hard: this can spread the mark, weaken fibres and create a pale worn patch.
- Mixing products: do not combine stain removers, bleach products or household cleaners unless a product label specifically instructs it.
- Tumble drying too soon: heat can set remaining stains. Check the garment before drying fully.
What people usually ask
Do I need separate stain removers for whites and colours?
Not always, but it helps to check. Some products are labelled for whites, some for colours, and some for both. If the wording is unclear, test first and avoid using a whites-only product on coloured fabric.
Can one product handle every everyday stain?
One general product can cover many light marks, but grease, protein stains and delicate fabrics often need different handling. A small kit with two or three well-chosen options is usually more useful than one harsh all-rounder.
Should I treat stains before or after washing?
Treat visible stains before washing where the garment label and stain product allow it. After washing, check the mark before drying; if it remains, repeat a suitable treatment rather than applying heat.
Are stain remover bars safe for delicate clothes?
They can be too abrasive if rubbed hard. On delicate fabric, use minimal pressure, test first, and choose a liquid or hand-wash method if the fabric snags, pills or distorts easily.
How long should I keep stain removers once opened?
Follow the packaging. If a product has changed smell, texture, colour or consistency, replace it rather than risking uneven application on clothes.
In brief
Choose a stain remover kit around real laundry habits, not the most dramatic stain claims on the shelf. For everyday clothes, the safest setup is usually one general pre-treatment product, one targeted option for your most common stubborn stain, one gentler choice for delicate or sensitive laundry, and a few soft tools for controlled blotting and rinsing. Check labels, test hidden areas, avoid over-rubbing, and let the fabric guide the strength of the treatment.