A well-planned ironing and steaming station saves time, protects fabrics and makes midweek laundry less chaotic. The aim is not to create a showroom laundry room, but a reliable space where shirts, uniforms, knitwear, dresses and household linens can be refreshed without fighting clutter, poor lighting or damp air.
For most UK homes, the best setup is compact, safe to use, easy to pack away if needed, and organised around the clothes you actually wear.
At a glance
- Choose a space with good light, a nearby socket, stable flooring and enough room to move garments without dragging them on furniture.
- Keep the iron, steamer, board, pressing cloths, hangers and distilled or suitable water in one small zone so the job does not spread across the house.
- Separate jobs by fabric: cotton shirts, school uniform and bed linen need different handling from wool, pleats, viscose and embellished garments.
- Manage steam and moisture, especially in flats, older houses and bedrooms where condensation can build quickly.
- Store tools safely once cool, and keep lint, scale and fabric residue under control with light routine maintenance.
Pick the right spot before you think about equipment
The best place is usually the one you will actually use. A utility room is ideal, but many homes rely on a kitchen corner, spare room, landing, bedroom alcove or a folding setup near a dining table. Prioritise a flat floor, steady light and clear access to a socket over making the space look permanent.
Avoid cramped corners where the flex trails across a walkway or the iron has to sit on a windowsill. You need enough room to open the ironing board fully, hang one or two finished garments, and turn comfortably while handling sleeves, trouser legs or larger items such as duvet covers. If you steam clothes while they hang, leave space behind the garment so steam can pass through fabric rather than soaking a wall, wardrobe door or curtain.
Lighting matters more than people think. Creases, scorch marks, shine on dark fabrics and water spotting are easier to see in daylight or under a bright overhead light. If your usual laundry space is dim, a simple task lamp can make pressing collars, hems and pleats much less frustrating.
Build the core setup
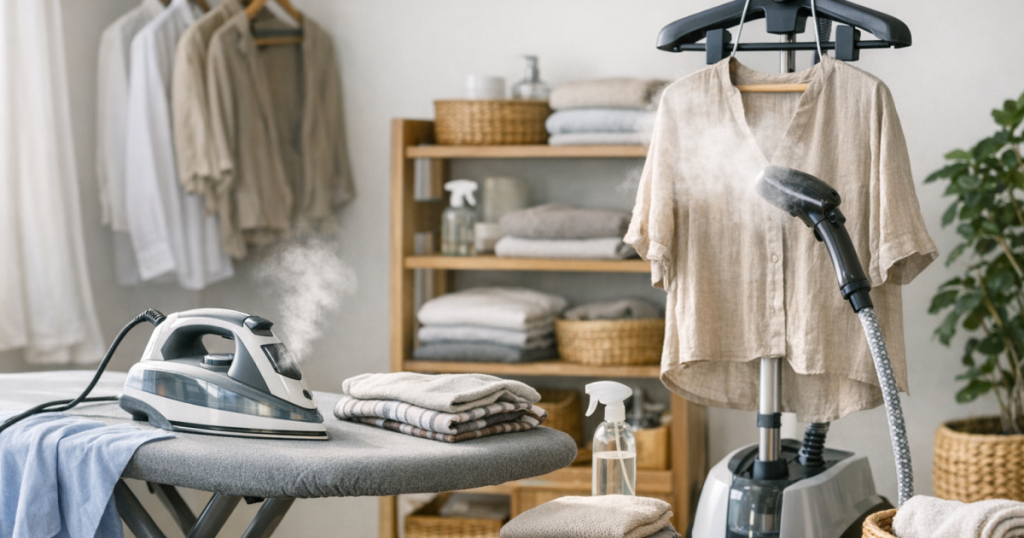
A complete ironing and steaming station does not need to be large. It needs a stable surface, a safe rest point for the hot appliance, and a few fabric-care tools that stop you improvising with towels, door handles or chair backs.
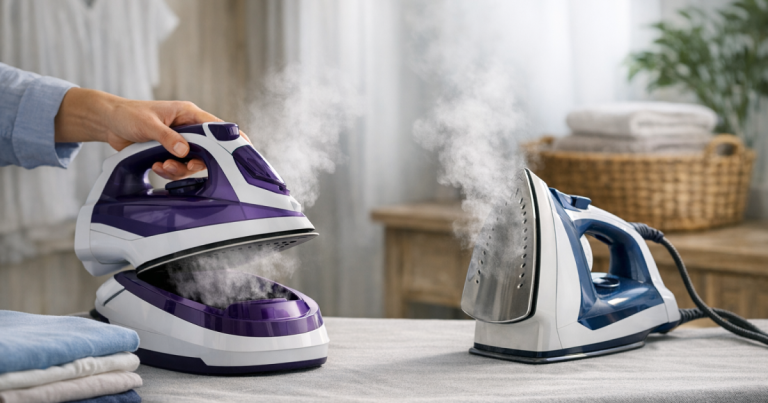
- Ironing board: choose a board that feels stable at your working height, with a cover that is smooth, padded and securely fitted. A wobbly board makes delicate pressing harder and increases the risk of knocking the iron.
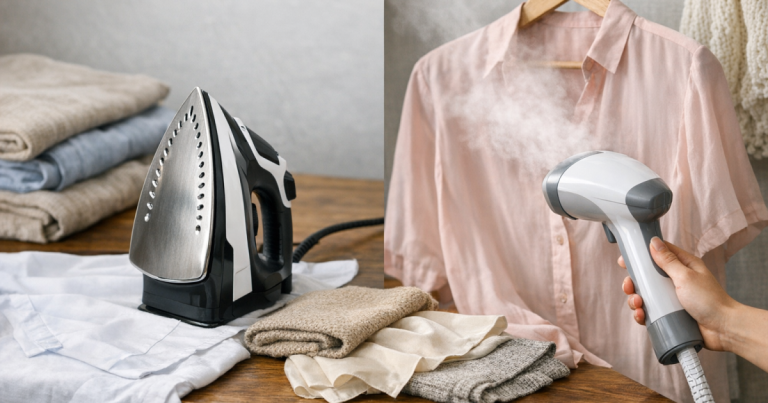
- Iron or steamer: a steam iron suits sharp creases, cotton shirts, bedding and school uniform. A handheld or upright steamer is better for quick refreshes, drapey fabrics and garments that dislike firm pressure.
- Heat-safe rest area: use the board’s iron rest if it is stable, or a proper heat-resistant mat. Do not balance a hot iron on fabric piles, plastic storage boxes or furniture.
- Pressing cloths: keep a clean cotton cloth for wool, dark synthetics, delicate blends and anything prone to shine.
- Hangers and a rail or door hook: finished garments need somewhere to cool and dry before they go into the wardrobe.
- Small care kit: include a lint brush, clean microfibre cloth, spare water jug and a gentle stain cloth for spotting marks before heat sets them.
If you are choosing between steam output, tank size and power ratings, the feature differences are easier to understand in our guide to iron and steamer features. For a familiar steam iron example, the Philips Azur Elite Steam Iron shows the type of full-size appliance many households use for regular pressing, while a sturdy board such as the Minky Homecare Ironing Board illustrates why stability and surface area matter as much as the iron itself.
Decide what belongs on the board and what belongs on a hanger
The quickest way to improve results is to stop treating every garment the same. Some fabrics need pressure and shape; others need steam, gravity and patience.
Use the board for cotton shirts, linen tablecloths, school trousers, aprons, pillowcases and anything that needs crisp seams or flat panels. Press collars from the underside first, work sleeves on the board edge, and let freshly pressed cotton cool before stacking it. Warm fabric creases again easily if it is folded too soon.
Use steaming for dresses, blouses, viscose, polyester blends, lightweight jackets and garments with gathering, drape or awkward seams. Hold the fabric gently taut from the hem where safe to do so, and move the steamer slowly rather than blasting one patch. Steaming is often kinder to texture, but it is not a substitute for pressing when you want a sharp crease.
Wool, tailored jackets and delicate knits need extra care. Use steam to relax creases, but avoid crushing the surface with heavy pressure. A pressing cloth helps prevent shine on dark wool and tailored trousers. If a jumper has lost shape after washing, drying technique matters before you even reach for steam; our guide on drying jumpers flat without stretching them is a useful next step for knitwear care.
Set up a sensible fabric workflow
A good station works like a small production line. Sort first, press or steam second, cool third, store last. This prevents finished clothes sitting in a damp pile while you tackle the next item.
Start with the dry, simple items
Begin with garments that need lower heat or quick steaming, then move towards cottons and linens that need more heat and pressure. Many irons heat up faster than they cool down, so working from delicate to robust fabrics reduces waiting time and helps avoid accidental overheating.
Check care labels before heat touches fabric
Care labels are especially important for acetate, viscose blends, coated fabrics, pleats, prints and embellishments. If the label says not to iron, do not press it flat just because the crease is annoying. Try hanging it in a steamy bathroom after a shower or using a garment steamer at a cautious distance if the label allows steaming.
Let garments rest before storing
Freshly steamed clothes may feel dry on the outside but still hold moisture in seams, linings and waistbands. Hang them for a few minutes before putting them into a wardrobe. This is particularly important in winter, when rooms are cooler and wardrobes can already be prone to mustiness.
Control steam, moisture and air movement
Steam is useful for fabric, but too much moisture in the wrong room can encourage condensation and wardrobe damp. If you press one shirt, it is rarely an issue. If you work through a family wash, bedding and uniforms in a closed bedroom, moisture can build up quickly.
Open a window slightly when weather allows, use an extractor fan if you are near a kitchen or utility area, and avoid steaming directly against cold external walls. In homes where laundry is also dried indoors, a dehumidifier can be part of the wider garment-care routine. The most useful approach is covered in our guide to using a dehumidifier when drying laundry indoors.
Do not put freshly steamed garments straight into a packed wardrobe. Leave space between hangers, and allow fabrics to cool before closing the door. This small habit helps reduce trapped moisture, limp collars and that slightly stale smell that can appear when clean clothes are stored too quickly.
Make the station easy to tidy away
If the setup is awkward to pack down, it will either stay out permanently or stop being used. Store everything in one place: iron, steamer head or attachments, pressing cloths, lint brush, water jug and spare hangers. A shallow basket or caddy works well if your station is temporary.
Let the iron or steamer cool fully before storing. Empty water tanks if the manufacturer’s instructions recommend it, and avoid leaving water sitting for long periods if limescale is a problem in your area. Much of England has hard water, so scale management can make a real difference to steam consistency and fabric marking. Always follow the appliance manual on tap water, filtered water or descaling products, because the wrong approach can damage some models.
Keep the board cover clean and dry. A stained or scorched cover can transfer marks to pale shirts and bedding. If the padding has flattened, pressing becomes less even and seams may imprint through the fabric. Replacing a worn cover is often more effective than pressing harder.
Safety habits that fit normal use
Heat and steam need respect, but the routine does not have to be complicated. Keep trailing cables away from doorways, pets and children. Place the iron upright or on its rest whenever you pause, and never leave a hot appliance unattended. Steam can burn skin through thin fabric, so keep hands away from the steam path when pulling hems or sleeves taut.
Do not steam clothes while someone is wearing them. It may look convenient, but steam direction is harder to control and heat can pass through fabric faster than expected. Hang the garment properly, smooth it with one hand from a safe position, and work slowly from top to bottom.
Small upgrades that make the space work harder
Once the basics are in place, a few low-cost changes can improve the routine without turning it into a full laundry-room project.
- A dedicated hanger set: keep several clean hangers beside the board so pressed clothes do not end up on chair backs.
- A sleeve board or rolled towel: useful for cuffs, children’s shirts and narrow trouser areas.
- A clean spray bottle: helpful for stubborn cotton creases if your iron’s spray function is limited, but avoid soaking fabric.
- A light-coloured pressing cloth: makes it easier to see dirt or dye transfer before it reaches the garment.
- A small laundry basket for finished items: use it only after garments are cool and dry, not as a holding pile for damp steamed clothes.
If your household laundry includes a lot of shirts, uniforms or bedding, a steam generator may be worth understanding before dedicating space to it. Our explanation of whether steam generator irons are worth buying for family laundry covers the practical trade-offs around space, routine and volume.
Questions people ask
Can I set up a station in a bedroom?
Yes, provided there is enough space, good ventilation and a stable surface. Avoid steaming directly beside wardrobes, beds or cold external walls, and let garments dry fully before storing them.
Is a steamer enough to replace an iron?
For some wardrobes, yes. Steamers are useful for quick refreshes, dresses, blouses and travel creases, but they do not create the same sharp finish on cotton shirts, pleats, trouser creases or bed linen.
Should I use tap water in an iron or steamer?
Follow the appliance manual. Some models are designed for tap water, while others may need filtered, demineralised or specific care in hard-water areas. Do not add fragrance unless the manufacturer clearly allows it.
How long should steamed clothes hang before going away?
Give them at least a few minutes, and longer for lined garments, thick seams or cool rooms. Fabric should feel dry and cool before it goes into a wardrobe or storage bag.
What is the most common setup mistake?
Trying to work in a cramped, poorly ventilated corner. Most ironing problems become worse when there is nowhere to hang finished garments, nowhere safe to rest the appliance, and not enough light to see fabric condition.
What to remember
A good ironing and steaming station is less about having a large laundry room and more about controlling heat, steam, fabric order and storage. Put the board, appliance, hangers and small care tools together; sort garments by fabric; manage moisture; and let clothes cool before they return to the wardrobe. The result is a calmer routine, better-looking clothes and fewer last-minute battles with creases.