Shiny marks on uniform shirts are usually caused by too much heat, too much pressure, or ironing directly over synthetic-rich fabric. The safest way to iron uniform shirts is to use moderate heat, steam where the care label allows it, and a pressing cloth on visible areas that are prone to gloss.
This matters most on school shirts, hospitality shirts, security uniforms, healthcare tunics and office workwear, where collars, cuffs and button bands get pressed repeatedly. A crisp shirt should look clean and structured, not polished or flattened.
The short version
- Check the care label before choosing heat or steam.
- Iron the shirt slightly damp, or mist lightly, so you do not need heavy pressure.
- Use a clean pressing cloth on collars, cuffs, pockets and plackets.
- Iron dark, synthetic or blended shirts inside out where possible.
- Keep the iron moving and avoid grinding the soleplate into seams.
- Let the shirt cool on a hanger before wearing or folding it.
Why uniform shirts develop shiny patches
Shine is not the same as a stain. It is a change in the way the fabric surface reflects light. On cotton-rich shirts, heavy pressure can flatten the fibres, especially on raised areas such as seams and pocket edges. On polyester or polycotton uniforms, excessive heat can make the surface look glazed because synthetic fibres are more heat-sensitive than cotton.
The most common glossy zones are the collar points, cuff edges, front placket, pocket tops and shoulder seams. These areas are thicker, sit higher under the iron and often receive repeated pressing. If you iron them directly on a high setting, the raised fabric takes most of the heat and pressure.
A barrier layer is often the simplest fix. For a deeper explanation of why this helps on heat-sensitive garments, see how pressing cloths reduce shine when ironing. The fabric is different, but the principle is similar: protect the surface, reduce direct contact and avoid crushing the fibres.
Before you start: quick checks that prevent shine
Read the care label properly
Uniform shirts are often cotton, polyester, or a cotton-polyester blend. Do not assume a white shirt can take maximum heat. A shirt with a high polyester content usually needs a cooler setting than pure cotton. If the label shows a low or medium iron symbol, respect it; shine is much easier to prevent than reverse.
Look for coatings, logos and trims
Some work shirts have embroidered logos, printed branding, reflective strips, concealed plackets or interfaced collars. Iron these from the reverse side where possible. Do not press directly over heat-applied logos or trims; place a cloth over the area and use brief, gentle contact only if the care label allows ironing.
Start with a clean iron
A dirty soleplate can drag, mark fabric and leave residue that looks worse once pressed in. Wipe the cool soleplate before use and check steam holes for build-up. If your iron has spat brown water before, test steam on an old cotton cloth before going near a white school or work shirt.
Step-by-step: crisp shirts without glossy marks
1. Wash and dry the shirt so it is slightly damp
The easiest shirt to press is not bone dry. Remove it from the line, airer or tumble dryer while it still has a little moisture in the fibres. If it is already dry, mist it lightly with clean water and leave it for a few minutes so the moisture spreads evenly.
Avoid soaking the shirt just before ironing. Wet patches can lead to uneven pressing and may make some fabrics pucker, particularly around fused collars and cuffs.
2. Set the iron lower than you think at first
Begin with a lower heat setting and increase only if creases are not releasing. For many polycotton uniform shirts, a medium setting with steam is more effective and safer than a very hot dry iron. If the fabric smooths with steam and light pressure, there is no benefit in turning the heat up.
3. Turn the shirt inside out for the first pass
Ironing from the reverse side reduces the risk of visible shine on the front. This is particularly useful for dark navy, black, bottle green or burgundy uniform shirts, where gloss shows quickly under indoor lighting.
Start with the body panels from the inside, using smooth strokes rather than pressing down hard. Let the steam and heat do the work. If a crease remains, go over it again with moisture rather than extra force.
4. Use a pressing cloth on visible detail areas
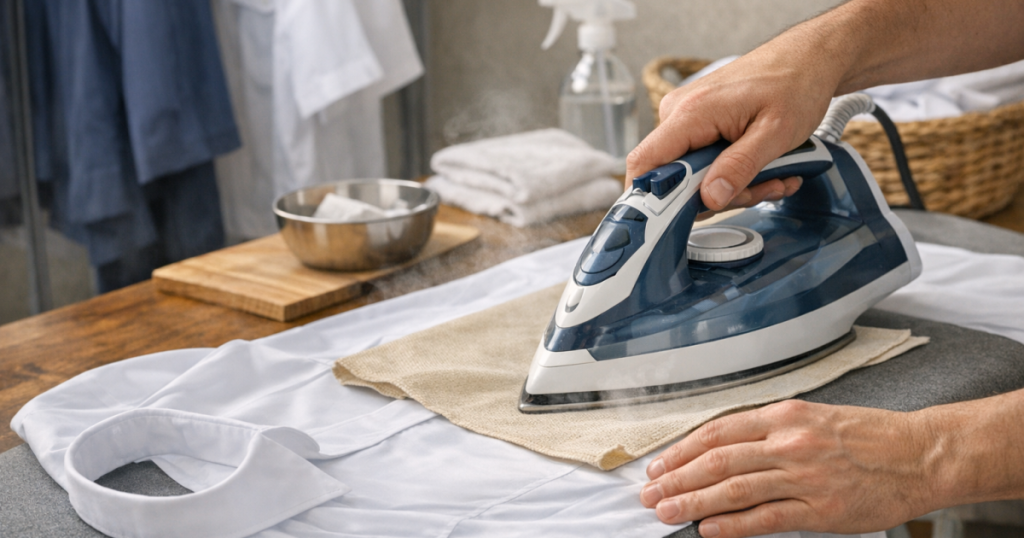
For the outside of the collar, cuffs, pocket edges and placket, place a clean cotton pressing cloth between the iron and the shirt. A plain white cotton tea towel, clean handkerchief or purpose-made cloth can work, provided it is smooth, colourfast and free from detergent residue.
Press briefly, lift, move and press again. Do not scrub the iron back and forth over the cloth. That repeated friction can still flatten raised seams underneath.
5. Iron in the right order
A consistent order keeps the shirt flat and avoids re-creasing finished areas. Try this sequence:
- Collar underside, then collar outer side through a pressing cloth.
- Cuffs opened flat, first inside then outside through a cloth.
- Sleeves, following the seam and avoiding hard creases unless the uniform style requires them.
- Yoke and shoulders, using the narrow end of the ironing board.
- Front panels, working carefully around buttons and pockets.
- Back panel, using long strokes with light pressure.
6. Hang the shirt while it cools
Freshly ironed fabric is still warm and slightly vulnerable to new creases. Put the shirt on a hanger, fasten the top button and let it cool fully before wearing, folding or placing it in a wardrobe. This small pause helps the pressed shape set without needing extra heat.
Fabric-specific adjustments for school and work shirts
White cotton shirts
Cotton can usually tolerate more heat than polyester, but shine can still appear if you press too hard on seams. Use steam, keep the fabric slightly damp and reserve higher heat for stubborn creases on flat panels. Use a pressing cloth on collars and cuffs if the fabric has a smooth finish.
Polycotton shirts
Polycotton is common in school and workwear because it dries quickly and is easier to launder. It is also more prone to heat shine than pure cotton. Use medium heat, steam if allowed, and avoid leaving the iron in one place. For repeated weekly ironing, a pressing cloth is worth using even when the shirt looks robust.
Dark uniform shirts
Dark shirts show shine quickly because flattened fibres reflect light against the darker background. Iron inside out whenever possible. For the visible side, use a cloth and gentle steam. Check the shirt under a window or bright room light before putting it away, as shine can be hard to spot while the fabric is still warm.
Shirts with embroidery or logos
Turn the garment inside out and press around the logo rather than directly on top of it. If the logo area needs flattening, cover it with a cloth and use light pressure. Avoid stretching embroidered areas on the board, as this can distort the fabric around the stitching.
If a shiny mark has already appeared
Some shine is temporary fibre flattening; some is heat damage. If the fabric has melted, glazed or changed texture permanently, ironing cannot fully restore it. However, mild shine can sometimes be softened.
- Hang the shirt and steam the shiny area without pressing hard.
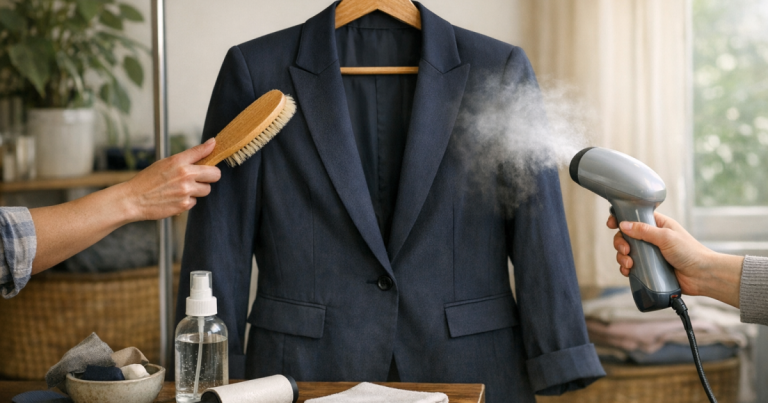
- Brush very gently with a clean clothes brush once the fabric is dry.
- Rewash the shirt and air dry it, then press from the reverse side.
- Avoid adding more heat directly to the shiny patch.
Do not try to fix shine by turning the iron hotter. That usually makes the patch more visible, especially on polyester blends.
Make repeat ironing easier
Uniform shirts are often ironed in batches, so your setup matters. A stable board, good lighting, clean water for misting and a dedicated pressing cloth make it easier to work quickly without over-pressing. If your ironing area is cramped or poorly lit, you are more likely to lean heavily on the iron and miss early signs of shine.
For a smoother home routine, the checklist in a practical home ironing and steaming setup covers the core items worth having without overcomplicating the job.
If you regularly handle several school shirts or work shirts at once, steam output and soleplate glide become more noticeable. The guide to steam generator irons for school uniforms and shirts explains when a higher-steam setup may be useful, and when a standard iron is enough.
FAQ
Should I iron uniform shirts inside out?
Yes, especially if they are dark, synthetic-rich or prone to shine. You can do the main smoothing from the reverse side, then lightly finish the visible side through a pressing cloth.
What can I use as a pressing cloth?
Use a clean, smooth, colourfast cotton cloth. A plain white cotton tea towel or handkerchief can work. Avoid printed cloths, textured towels or anything that might transfer colour or lint.
Why are the collar and cuffs shinier than the rest of the shirt?
They are thicker, more structured and pressed more often. The raised edges take more heat and pressure, which can flatten fibres and create a glossy finish.
Can steam cause shiny marks?
Steam itself is not usually the problem. Shine normally comes from heat plus pressure. Steam can help reduce pressure because it relaxes creases, but only use it when the care label allows.
Is starch a good idea for uniform shirts?
Use it cautiously. Heavy starch can build up, make collars look overly stiff and increase the risk of visible marks when pressed. If you use starch, apply lightly and avoid overheating the fabric.
Key takeaways
Shiny marks are mainly caused by direct heat, repeated pressure and fabric flattening. The best prevention is a lower heat setting, light steam, a slightly damp shirt and a pressing cloth on high-risk areas.
For everyday school and workwear, focus on consistency rather than force: check the label, iron from the reverse side, protect collars and cuffs, and hang the shirt while it cools. You will get a sharper finish with less risk of turning practical uniform fabric glossy.