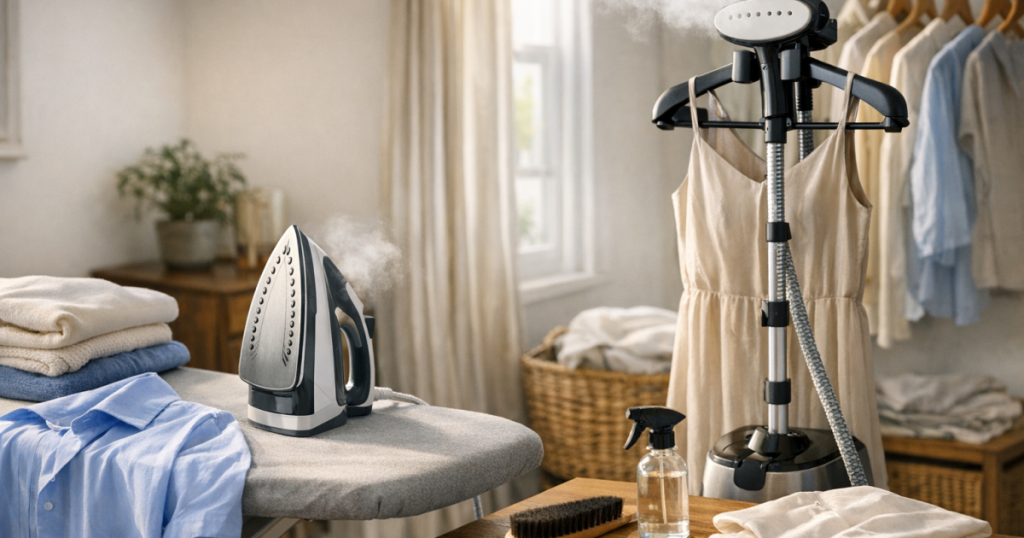
A good home ironing setup does not need to look like a laundry room showroom. For most UK households, the useful core is simple: a reliable iron or steamer, a stable board or heat-safe surface, a pressing cloth, good hangers, decent lighting and enough space to let garments cool and dry before they go back into the wardrobe.
The trick is matching the setup to the clothes you actually maintain. School shirts, work uniforms and cotton bedding need different handling from wool trousers, silk scarves, viscose dresses and knitwear. More steam is not always better, and a bigger appliance is not automatically the right answer if storage space is tight.
In brief
- Start with the fabric mix: cotton shirts and uniforms need firm pressing; delicates often need gentle steaming or a protective cloth.
- Choose one main tool: a steam iron is the most versatile; a garment steamer is useful for refreshes and awkward shapes; a steam generator suits high-volume ironing.
- Do not skip the surface: a stable board with a clean cover makes more difference than many people expect.
- Keep protection close: a pressing cloth, distilled or filtered water where appropriate, and clean hangers prevent avoidable marks.
- Build a workflow: sort, press, hang, cool, then store. Rushing clothes straight into a wardrobe traps warmth and moisture.
The essential kit, without the clutter
The most useful setup is built around repeatable routines rather than a cupboard full of accessories. If you iron once a week, you need a tool that heats consistently, a surface that does not wobble, and a place to hang finished items. If you mostly refresh clothes before work, you may value a steamer and a sturdy hanging point more than a large board.
1. A steam iron for structure and crispness
A steam iron remains the best all-rounder for shirts, school uniforms, cotton dresses, linen blends and trousers that need creases controlled. It gives downward pressure as well as heat and steam, which is why it works better than steaming alone when collars, cuffs, pleats and hems need definition.
For a typical household, look for practical handling rather than chasing every feature. Check that the iron feels comfortable when filled, that the controls are clear, and that the soleplate glides smoothly over cotton and polyester blends. The Philips Azur Elite Steam Iron is one recognisable example of the kind of full-size steam iron readers often compare when they want a single main iron, but the right choice depends on weight, storage and the fabrics you press most often.
2. A garment steamer for refreshes and awkward shapes
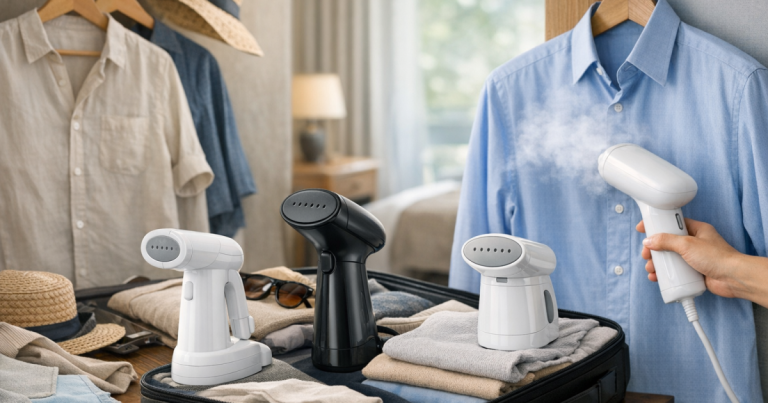
A steamer is useful for clothes that are hard to flatten on a board: floaty dresses, lined jackets, pleated skirts, blouses with gathers and garments that only need odour and crease reduction rather than a sharp finish. It can be kinder to textured fabrics because it does not compress the fibres in the same way as an iron.
Steaming has limits. It will not usually create crisp shirt cuffs, smart trouser creases or a sharply pressed collar. It can also leave garments damp if used too close to the fabric or if the room has poor ventilation. For best results, hang the garment freely, keep the fabric lightly tensioned with one hand, and let it air before wearing or storing.
3. A stable ironing board or heat-safe surface
A wobbly board wastes time and increases the chance of dragged seams, shine and accidental creasing. A full-size ironing board is easier for shirts, trousers and bedding because you can move the garment without fighting the edges. If space is limited, a compact board or ironing blanket can work for occasional use, but it should sit on a heat-resistant, stable surface.
A clean, padded cover matters. Thin or scorched covers can transfer marks, imprint mesh patterns or make seams look more prominent. A board such as the Minky Homecare Ironing Board is a familiar example of the type of household board many UK readers will recognise, but the key checks are stability, height adjustment, cover condition and whether it fits your storage space.
Iron, steamer or steam generator?
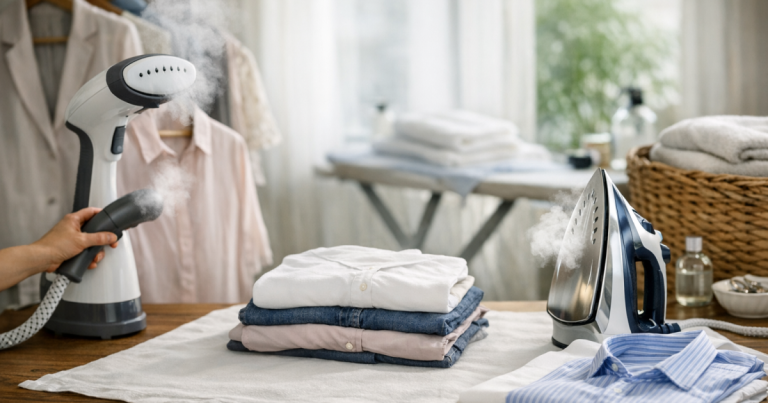
The easiest way to decide is to think about finish, volume and fabric sensitivity. Most homes can manage with one good steam iron. A steamer becomes valuable if you wear lots of draped or delicate garments. A steam generator makes sense when you regularly tackle a large basket of shirts, uniforms or bedding and want stronger continuous steam with less refilling.
- Steam iron: best for general household pressing, shirt collars, cuffs, uniforms, trousers and cotton garments.
- Garment steamer: best for quick refreshes, hanging garments, light creases, travel-prone fabrics and items with awkward construction.
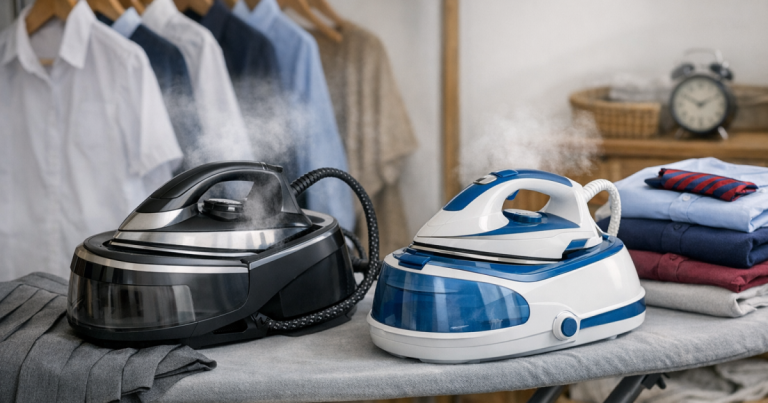
- Steam generator iron: best for high-volume loads, especially where you press several shirts, school uniforms or bedding items in one session.
If your ironing pile is mostly uniforms and shirts, it is worth reading our guide to steam generator irons for uniforms and shirts before assuming a standard iron is enough. The extra base unit can take more storage space, so it suits some homes far better than others.
Fabric-aware extras that earn their space
The small items are often what prevent damage. You do not need a drawer full of specialist tools, but a few low-cost basics make pressing safer across wool, silk, viscose, polyester and blended schoolwear.
Pressing cloth
A pressing cloth sits between the iron and the garment. It helps reduce shine, protects dark wool and polyester blends, and gives you a safer margin when pressing seams or pleats. Plain cotton is usually suitable, provided it is clean, colourfast and lint-free. For delicate fabrics, a finer cloth can help you see the garment underneath.
Shine is a common problem on dark trousers, blazer fabric and some synthetic blends. If that is your main worry, our explanation of pressing cloths and shine on wool trousers covers why heat, pressure and moisture all matter.
Spray bottle
A small spray bottle is useful for stubborn cotton creases, but use it sparingly. Over-wetting can leave water marks on some fabrics and may make viscose or silk behave unpredictably. Mist cotton lightly, let moisture settle for a few seconds, then press. Avoid spraying unknown delicate fabrics unless the care label and a hidden test area suggest it is safe.
Lint brush and clothes brush
Pressing over lint, pet hair or dust can make debris cling harder to fibres. A quick brush before ironing gives a cleaner finish, especially on dark uniforms, wool coats and tailored trousers. Use a softer clothes brush for wool and a lint roller or lint brush for smooth synthetics.
Good hangers
Freshly pressed clothes need support while they cool. Use broad hangers for jackets, shaped hangers for shirts where possible, and clip hangers for skirts or trousers if they do not leave marks. Avoid cramming warm garments straight into a wardrobe, as that encourages creasing and can trap moisture.
Setting up the space
Good ironing is easier when the room works with you. Choose a spot with a socket nearby, a flat floor, clear lighting and somewhere safe to place finished garments. Kitchens can work for occasional pressing, but avoid setting up near food preparation areas where starch, steam and fabric lint become annoying.
Ventilation matters when steaming. Even a quick steaming session releases moisture into the room, and indoor humidity can affect stored clothes. Open a window where practical, use an extractor if available, and give garments time to dry fully before returning them to wardrobes or storage bags.
If you regularly hand wash delicates, it helps to connect your steaming and ironing routine with your drying area. Our guide to creating a drip-drying area for hand-washed clothes explains how to manage wet garments without stretching, dye transfer or puddles on the floor.
Match the method to the garment
Different garments need different levels of heat, steam and pressure. The care label is the starting point, but the fabric surface and construction also matter.
- Cotton shirts: press damp or use steam, starting with collar and cuffs, then sleeves, front panels and back.
- School uniforms: use moderate heat suited to the fibre blend, and avoid pressing directly over printed logos or heat-applied details.
- Wool trousers: use a pressing cloth, minimal pressure and controlled steam. Let the fabric cool before moving it.
- Silk scarves and blouses: use low heat only if the care label allows it, press from the reverse where possible, and avoid water spotting.
- Knitwear: steam gently from a short distance or hover the iron without pressing down, then reshape flat.
- Polyester workwear: use lower heat and a cloth where needed, because excess heat can cause shine, distortion or permanent marks.
A simple weekly workflow
A repeatable order saves time and protects fabric. Sort first by heat level: delicates and synthetics, then wool, then cotton and linen if the care labels allow higher heat. This avoids constantly adjusting the iron up and down and reduces the chance of using too much heat on a sensitive garment.
Start with items that need the lowest temperature. Keep a small hanging rail, over-door hook or clear wardrobe section ready for finished clothes. Let each item cool before buttoning fully or packing away. For shirts, fastening the top button while cooling can help the collar keep its shape. For trousers, hang them from the hem or waistband depending on the crease you want to preserve.
Do not overload the session. If you are tired, rushing or working in poor light, you are more likely to scorch a seam, miss a care label or press in a crease. A smaller, regular routine is often kinder to clothes than one long rescue session at the end of the week.
Maintenance that keeps results consistent
Clean tools produce cleaner clothes. Empty the water tank after use if the manufacturer recommends it, and follow the descaling instructions for your appliance. Hard water areas in the UK can make scale more noticeable, so check the appliance guidance on whether tap, filtered, demineralised or distilled water is suitable. Do not guess, as some irons are designed for tap water while others have stricter instructions.
Wipe the soleplate only when the iron is cool and according to the manual. Burnt residue can drag across pale shirts or school blouses. Replace a damaged board cover when padding becomes thin, stained or uneven. Wash pressing cloths separately from heavily dyed laundry so they do not transfer colour later.
Common questions
Do I need both an iron and a clothes steamer?
Not always. If you mainly press shirts, uniforms and trousers, start with a steam iron. Add a steamer only if you regularly refresh delicate, draped or awkward garments.
Can steaming replace ironing for school uniforms?
Usually not completely. Steam can relax light creases, but collars, cuffs, pleats and trouser creases normally need the pressure of an iron for a tidy finish.
What should I use under an iron if I do not have space for a board?
Use a proper heat-resistant ironing mat on a stable surface. Avoid polished tables, plastic surfaces and anything that could warp, scorch or trap moisture.
Is it safe to iron clothes straight after washing?
Slightly damp cotton can press well, but wet garments are harder to control and may stretch. Delicates should usually be dried to the right stage first, following the care label.
Why do dark trousers go shiny after ironing?
Shine is usually caused by too much heat, pressure or direct contact. Use a pressing cloth, lower heat and less downward force, especially on wool and synthetic blends.
Key takeaways
The best setup is the one that suits your clothes, space and routine. For many households, that means a dependable steam iron, a stable board, a pressing cloth, a spray bottle, good hangers and a ventilated place for garments to cool. Add a steamer if you refresh delicate or shaped garments often, and consider a steam generator only when your ironing volume justifies the extra storage.
A carefully planned home ironing setup protects fabric as well as improving appearance. Keep heat controlled, use steam deliberately, let clothes dry and cool properly, and maintain the tools so they do not leave marks behind.