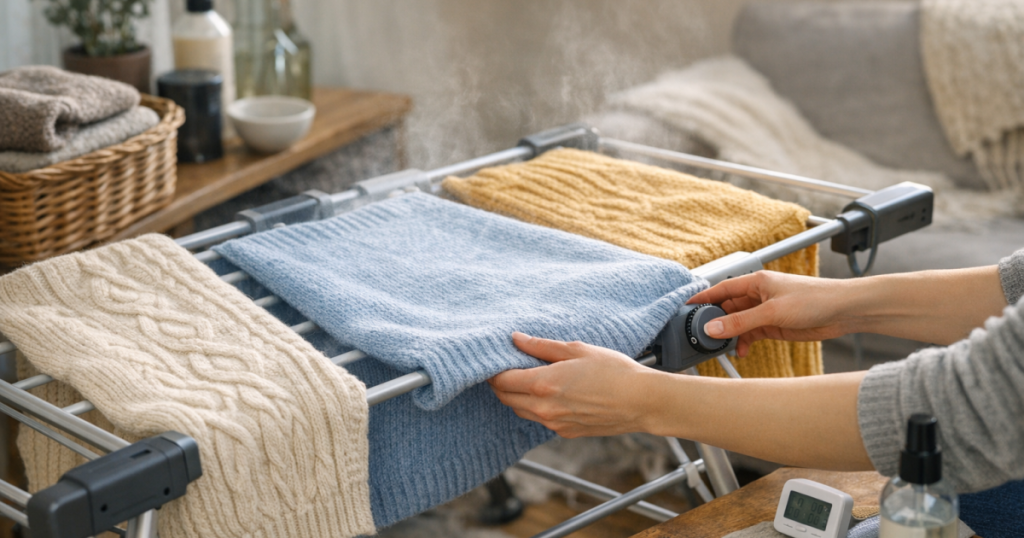
Choosing a heated airer for knitwear is less about finding the hottest model and more about controlling contact, airflow and drying time. Jumpers, cardigans and knitted tops need support while they dry, because heat plus gravity can leave fibres dry, stiff or stretched out of shape.
The safest choice is usually an airer that lets you dry knits flat or lightly draped, has a timer or simple shut-off routine, and gives you enough space to avoid bunching garments together. Heat should help moisture leave the fabric, not bake the life out of it.
At a glance
- Look for a layout that supports flat drying, not only narrow rails for hanging heavy wet garments.
- A timer, auto shut-off or easy-to-reach controls make it easier to stop drying before knitwear feels crisp.
- Good airflow matters as much as warmth; a crowded airer can leave some areas damp and others overdry.
- Covered heated airers can be useful for speed, but they need closer checking with wool, cashmere and thick cotton knits.
- The best results come from removing knitwear when it is just dry or very slightly cool-damp, then reshaping it flat.
Why knitwear is more vulnerable on a heated airer
Knitwear behaves differently from woven shirts, towels or work trousers. The looped structure can hold a lot of water, and when a wet jumper is hung over narrow rails, the weight pulls downwards. Add heat, and you can end up with rail marks, stretched shoulders, rippled hems or a papery dry feel.
Natural fibres such as wool, lambswool, merino and cashmere are particularly sensitive to over-handling, heat and friction. Many acrylic and cotton-rich knits are more forgiving, but they can still become misshapen if they are left on a warm rail for hours after the moisture has gone.
A heated airer is not the problem on its own. The problem is usually the combination of too much direct rail contact, poor garment support, leaving items on for too long, or drying a delicate knit from soaking wet instead of removing excess water first. For a wider routine that applies to mixed laundry loads, see our guide on using a heated airer without overdrying clothes.
Step 1: choose a shape that supports the garment
For knitwear, the airer shape matters more than it might for socks or tea towels. A tall tiered airer gives plenty of rail space, but a heavy jumper folded over a single rail can develop a crease line. A winged airer may give broader areas for laying items across several rails, but it can still leave pressure marks if the rails are narrow and close together.
When comparing designs, check how a jumper would actually sit on the frame. You want enough surface area to spread the weight across several rails, ideally with room to place a mesh drying layer or clean towel between the knit and the heated bars. If the airer only works well when clothes are hung vertically, it is less suitable for heavier knitwear.
Useful layout features to look for
- Wide spacing between rails, so thicker knits can breathe rather than trap damp patches.
- Flat or semi-flat drying areas where jumpers can be reshaped without hanging from one point.
- Stable wings or tiers that do not sag under the weight of damp cotton or wool blends.
- Enough width for your usual jumpers; a compact airer may work for children’s knitwear or light cardigans but feel cramped for chunky adult jumpers.
- A design that lets you remove one garment without disturbing the whole load.
Step 2: prioritise time control over maximum heat
A heated airer does not need to feel fierce to dry clothes effectively. For knitwear, gentle warmth over a controlled period is usually preferable to a very warm enclosed setup that you forget about. Before buying, check how the appliance is controlled: some have a simple on-off switch, while others include a timer or automatic shut-off. Do not assume all versions in a range have the same control features.
A timer is useful because knitwear often reaches a safe stopping point before bulkier items. You can check the jumper, remove it, and let towels or thicker garments continue separately. If a model has no timer, you can still use it carefully, but you will need a reliable reminder and a habit of checking by touch.
Also check whether the airer is intended to be used with a cover. Covers can speed up drying by holding warmth around the load, but they can also create a warmer microclimate around delicate fibres. For wool and cashmere, it is sensible to start uncovered or partially covered, then adjust only if drying is taking too long and the room has decent ventilation.
Step 3: match the airer to your laundry routine
The right airer is not always the largest one. A big heated airer can be helpful for a household with regular laundry, but it can encourage overloading. If knitwear is squeezed between towels, jeans and bedding, airflow drops and the drying pattern becomes uneven. Some panels may dry quickly while folded sections stay damp, tempting you to leave everything warming for longer than needed.
Think about how often you wash knitwear and where you will place the airer. In many UK homes, drying happens in a spare room, utility area, kitchen corner or hallway. The space should allow air to move around the frame, and you should be able to reach the controls easily. Avoid treating a heated airer as a sealed drying cabinet unless the manufacturer’s instructions specifically support that setup.
Running cost depends on wattage, electricity tariff, load size and how long the airer is on. A lower-powered model is not automatically the gentlest choice if it leads you to leave jumpers warming all day. For knitwear, the more important question is whether the airer helps you dry evenly and stop at the right time.
Examples worth comparing carefully
Real models can help you understand the trade-offs, but always check the current product page and manufacturer instructions before buying because ranges and accessories change. A tiered option such as the Lakeland Dry:Soon 3-Tier Heated Airer is the kind of design many shoppers compare for family laundry volume, but knitwear users should look closely at rail spacing, cover options and whether they can create a flat drying surface.
Winged or fold-out designs, including models sold under names such as Beldray Electric Heated Clothes Airer, can be useful when you want to spread a jumper over a wider area. The key check is stability: damp knitwear is heavier than it looks, and a flimsy-feeling frame can make reshaping awkward.
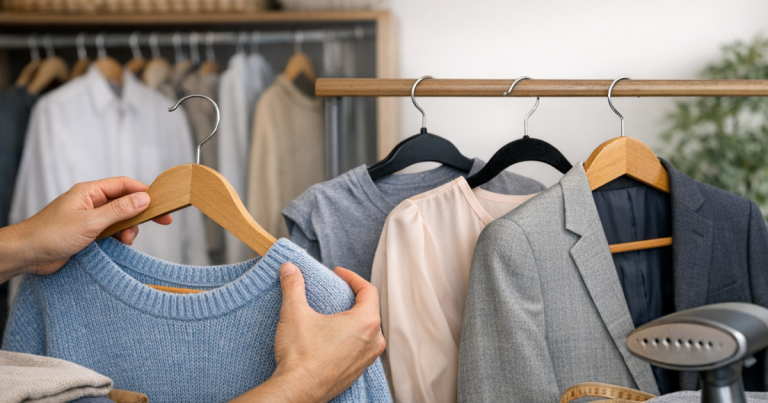
Warm-air wardrobe-style dryers, such as the JML DriBUDDI Indoor Airer, are a different proposition. They may suit certain garments that can hang freely, but they are not always the natural first choice for heavy jumpers because hanging can stretch the shoulders and body. If you are drawn to a covered dryer, check whether you can support knits flat rather than suspending them from hangers.
Step 4: check the knit before it goes near heat
A good heated airer cannot rescue poor preparation. Start with the care label and treat “dry flat” as a serious instruction. If the label warns against tumble drying, that does not automatically ban a heated airer, but it does mean you should avoid aggressive heat, hanging and prolonged drying.
Remove excess water before drying. After washing, use the machine’s suitable spin setting for that garment, or press water out gently by rolling the jumper in a clean towel. Do not wring wool or delicate knits. The airer should be finishing the drying process, not coping with a dripping garment that will pull itself out of shape.
Fabric-specific checks
- Wool and merino: dry flat wherever possible, reshape cuffs and hems, and check frequently by touch.
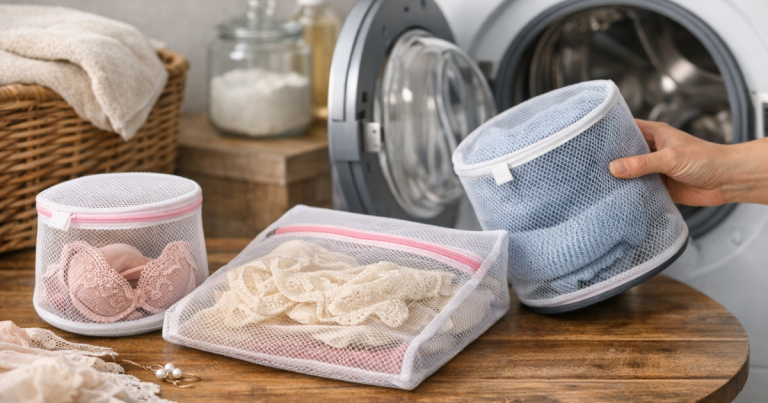
- Cashmere: use the gentlest approach, with a towel or mesh layer between the garment and any heated rail.
- Cotton knits: expect longer drying times, but avoid leaving them on warm rails once the body feels dry.
- Acrylic blends: watch for static, surface roughness and pilling if the garment is dried too hot or rubbed against other items.
- Chunky knitwear: allow more space around the garment and rotate it carefully so thick seams do not remain damp.
Step 5: use touch, not guesswork, to prevent overdrying
The easiest way to protect knitwear is to check it in stages. After the first drying period, lift the jumper off the rail or towel and feel the thicker areas: side seams, cuffs, neckline, waistband and underarms. These spots often stay damp after the main body feels dry.
If the garment is mostly dry but slightly cool in thicker areas, remove it from direct warmth and lay it flat on a dry towel or unheated rack to finish. This avoids the common mistake of leaving the whole jumper on heat until every seam is bone dry. By then, the thinner areas may already be overdried.
Rotate gently rather than tugging. If you need to turn the garment, support it with both hands, smooth it back into shape and avoid pulling from the shoulders. A mesh drying layer can reduce rail marks and makes it easier to move delicate knits in one piece.
Step 6: look for small features that make careful drying easier
Small usability details often decide whether you will use a heated airer gently or impatiently. A stable frame, simple folding mechanism, reachable switch, clear indicator light and manageable weight all help. If the airer is awkward to open, crowded in your room or difficult to store, you are more likely to overload it or leave clothes on too long.
Check whether replacement covers, mesh shelves or drying accessories are available for the model you are considering. Do not buy purely on accessory promises; check that they fit the exact model and suit flat drying. Also consider cleaning. Rails that can be wiped easily are useful because detergent residue, dust and dye transfer are not ideal against pale wool or soft knitwear.
Mistakes that make knitwear feel dry, stiff or misshapen
- Hanging a wet jumper from a narrow rail instead of spreading its weight.
- Using a full cover from the start on delicate wool without checking progress.
- Mixing jumpers with heavy towels, which blocks airflow and lengthens drying time.
- Leaving knitwear on the airer after it already feels dry to the touch.
- Drying directly over dusty or marked rails without a clean towel or mesh barrier.
- Ignoring pilling and surface friction; if bobbles are already a problem, read our advice on whether fabric shavers thin clothes over time before removing them.
Common questions
Can I dry wool jumpers on a heated airer?
Often, yes, but only with care. Follow the label, remove excess water first, dry flat or well supported, and check regularly. Avoid hanging wet wool from a rail or leaving it on heat after it feels dry.
Is a covered heated airer too warm for knitwear?
Not always, but it needs closer supervision. A cover can speed drying, yet it also holds warmth around the garment. Start with shorter periods and remove delicate knits before thinner areas become crisp.
Should knitwear touch the heated rails directly?
Light, robust knits may tolerate brief contact, but delicate or expensive pieces are safer on a clean towel or mesh layer. This spreads the weight and reduces rail marks.
What size heated airer is best for jumpers?
Choose enough surface area to lay jumpers across several rails without bunching. For chunky adult knitwear, a very compact airer may be frustrating even if it looks convenient for general laundry.
How do I know when to take knitwear off the airer?
Remove it when the main body feels dry and thicker seams are only slightly cool, not wet. Let it finish flat away from direct heat so the fibres settle naturally.
Main lessons
The best heated airer for knitwear is the one that helps you slow down the final stage of drying. Look for support, spacing, airflow and timing rather than chasing the warmest setup. If a model lets you dry jumpers flat, check them easily and remove them before they turn crisp, it is far more fabric-friendly than a hotter airer used carelessly.
Once your jumpers are dry, storage matters too. Neatly folded stacks reduce hanger stretch and make it easier to rotate knitwear through the week; our guide to shelf dividers for keeping jumper stacks tidy can help if your wardrobe shelves tend to collapse into piles.