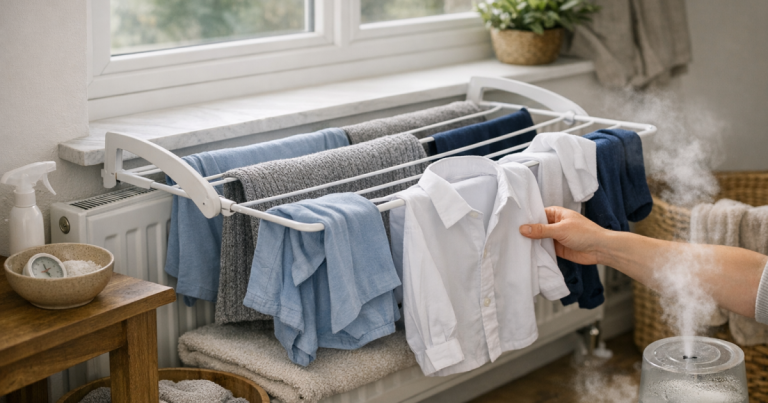
Drying clothes indoors is useful in damp British weather, but too much heat for too long can leave garments stiff, harsh or more creased than they need to be. A heated airer can help laundry dry steadily, provided you treat it as a controlled drying station rather than a place to abandon everything until morning. The aim is to remove moisture without baking the fabric once it is already dry.
The short version
- Spin laundry properly first so the rack is drying damp fabric, not trying to cope with dripping-wet loads.
- Shake and smooth garments before placing them on the rails, as set-in wrinkles become harder to relax later.
- Leave space around thicker items and avoid stacking wet clothes in dense layers.
- Check lightweight items early and remove each garment as soon as it feels dry, rather than waiting for the whole load.
- Use a cover carefully: it can speed drying, but it also makes timing and ventilation more important.
- Let clothes cool for a few minutes before judging dryness, because warm fabric can make residual dampness harder to notice.
Why indoor drying can make clothes feel too dry
Overdrying happens when moisture has already left the fibres but the garment continues to sit in warm, moving air or against heated rails. The fabric may feel crisp, edges can curl, and existing creases may become more pronounced. This is not the same as shrinking every time, but repeated harsh drying is not ideal for comfort, shape or finish.
A heated airer usually uses gentler heat than a tumble dryer, but it still needs timing. The biggest problem is uneven drying: sleeves, waistbands and thick seams may stay damp while thin panels are already dry. If you leave everything in place until the slowest parts are done, lighter areas can become unnecessarily harsh.
The best approach is staged drying. Treat shirts, underwear, towels, gym kit and knitwear differently, because they do not hold water in the same way. A fabric-aware routine takes a little more attention, but it gives better results and usually reduces the need for heavy ironing afterwards.
Step 1: start with the right amount of water left in the fabric
The drying result is decided before the load reaches the rack. If clothes come out of the washing machine too wet, they need longer on the rails and are more likely to dry unevenly. If they are spun too aggressively, some fabrics may come out more creased, stretched or flattened than necessary.
For everyday cottons, bedding and many synthetic blends, a higher spin can reduce drying time. For viscose, wool, delicate knits and garments that crease easily, a gentler spin is usually safer. Always check the care label, and adjust for the actual garment rather than using the same spin for every wash.
If you are unsure how spin speed affects indoor drying, the guide on choosing the right spin speed before air drying explains the trade-off between water removal, creasing and fabric stress.
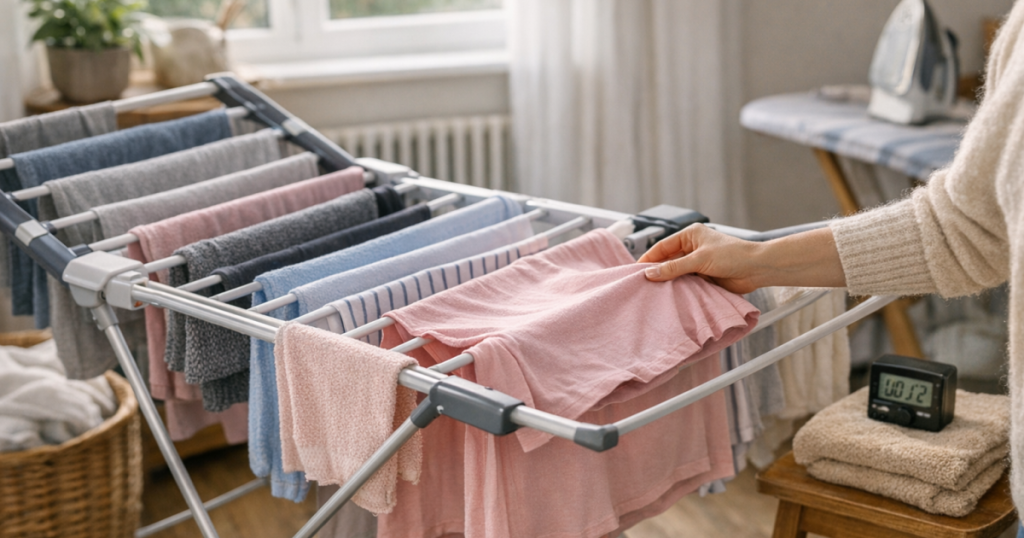
Step 2: shake, smooth and shape before loading
Do not move clothes straight from the drum to the rails in a twisted bundle. Shake each item open, pull hems and side seams into line, and smooth collars, cuffs and plackets with your hands. This takes seconds, but it helps fabric dry in a wearable shape.
For shirts, fasten one or two buttons near the top if it helps the garment sit neatly on a hanger or rail. For trousers, align the legs before folding over a rail. For T-shirts, avoid letting the shoulder area hang sharply over a narrow heated bar for hours, as this can create a ridge that is awkward to remove.
Small items such as socks and underwear should not be piled over larger garments. They dry quickly, so give them their own rail or a separate section where they can be removed early.
Step 3: load the rack for airflow, not maximum capacity
A common cause of overdrying is trying to dry too many things at once. Dense loading traps moisture in the middle of the rack, while outer garments become dry and warm long before inner layers are ready. The result is a load that feels both damp and overdone.
Use the rails to create gaps. Lay heavier items over two rails if that opens the fabric and stops thick folds sitting directly on one hot point. Keep sleeves, waistbands and cuffs exposed where possible. If the rack has several tiers, put heavier pieces where air can circulate around them rather than burying them under thin items.
When drying a mixed load, group garments by drying speed:
- Fast drying: sports tops, thin underwear, lightweight synthetics and thin school shirts.
- Medium drying: cotton T-shirts, pyjama tops, work shirts and jersey dresses.
- Slow drying: jeans, hoodies, towels, sweatshirts and anything with thick seams or elasticated waistbands.
Remove fast-drying items first. This stops them becoming papery or static-prone and creates more airflow for the garments that still need time.
Step 4: set checking points rather than relying on one long session
A heated airer is easiest to use well when you check it in stages. Instead of asking “is the whole load dry yet?”, check the most vulnerable items first. Thin synthetics, viscose blends and fine cotton shirts can reach wearable dryness while heavier garments still feel damp at the seams.
For a typical indoor load, a sensible routine is:
- After the first hour: check thin items, collars, sleeves and anything sitting directly over a warm rail.
- Halfway through drying: rotate heavier garments and open out any folded areas that still feel cool or damp.
- Near the end: remove dry items individually, then leave only the pieces that genuinely need more time.
Exact timing depends on room temperature, ventilation, fabric thickness, load size and whether you use a cover. The important habit is not the number of hours; it is checking by touch and removing items in stages.
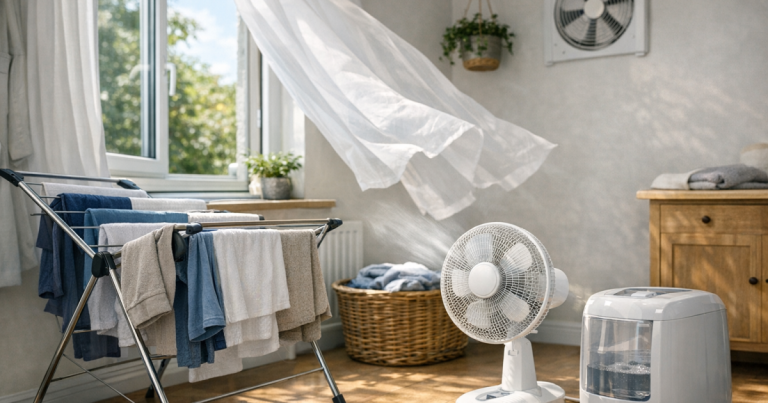
Step 5: use a cover without trapping damp air for too long
Many people use a cover to hold warmth around the rack. This can be helpful in a cold room, but it changes the drying environment. Heat builds up more efficiently, so lighter garments can reach dryness sooner than expected. Moist air can also collect if the room has poor ventilation.
If you use a cover, lift it periodically to release humid air and feel the garments. Keep the rack away from walls, curtains and clutter so air can move around it. A nearby window opened briefly, an extractor fan in the next room, or a dehumidifier used according to its instructions can help manage moisture indoors.
A cover should not be treated as a reason to stop checking the load. It is better used as a controlled aid for steady drying, especially for thicker cottons and towels, while delicate or quick-drying pieces are removed before they become overly dry.
Step 6: match the method to the fabric
Cotton shirts and workwear
Cotton can tolerate routine indoor drying well, but it creases easily if left bunched or dried too hard. Smooth shirts before placing them on the rack, then move them to hangers when they are almost dry. This helps the last traces of moisture relax the fabric naturally. If you also dry shirts outside when weather allows, the advice on how to hang shirts on a clothesline without peg marks is useful for avoiding shoulder and peg dents.
Viscose and delicate blends
Viscose can weaken when wet and may distort if pulled by its own weight. Dry it flat or supported where possible, and avoid leaving it pressed tightly against warm rails for long periods. Remove it while just dry rather than crisp. If the care label advises drying flat, follow that over convenience.
Wool and knitwear
Wool and knitwear need support. Do not hang heavy wet jumpers from one rail, as they can stretch. Lay them flat over a drying mesh or across multiple rails with a towel underneath if appropriate, and keep direct heat gentle. The goal is slow, even moisture removal, not rapid drying.
Denim, hoodies and towels
Thicker items are where staged drying matters most. Jeans may feel dry across the leg but remain damp at the waistband, pockets and seams. Hoodies often hold moisture in cuffs, hoods and ribbing. Towels can dry at the edges first while the centre stays cool. Rotate these items and expose the thickest parts rather than leaving the entire garment on for extra hours.
Synthetics and sportswear
Synthetic fabrics often dry quickly, so they are easy to overdry. They can also become static or clingy when left in warm dry air too long. Place them away from the warmest direct contact points where possible, check early, and remove as soon as they feel dry.
How to tell when clothes are dry enough
Warm fabric can be misleading. A garment may feel dry while warm, then reveal damp seams once it cools. Before folding or putting clothes away, let them rest for a few minutes off the rack. Then check the thickest areas with the back of your hand: waistbands, underarms, collars, cuffs, pockets and hems.
Clothes are usually dry enough when they feel room temperature rather than cool or clammy, seams no longer feel damp, and there is no musty smell. If only one small area is still damp, give that area targeted extra time rather than putting the whole garment back over the rails.
Signs you have gone too far include a rough hand-feel, crackly cotton, curled hems, stubborn rail marks, increased static or creases that seem set into the fabric. If this happens regularly, reduce the drying time, remove thinner items earlier, or use more space between garments.
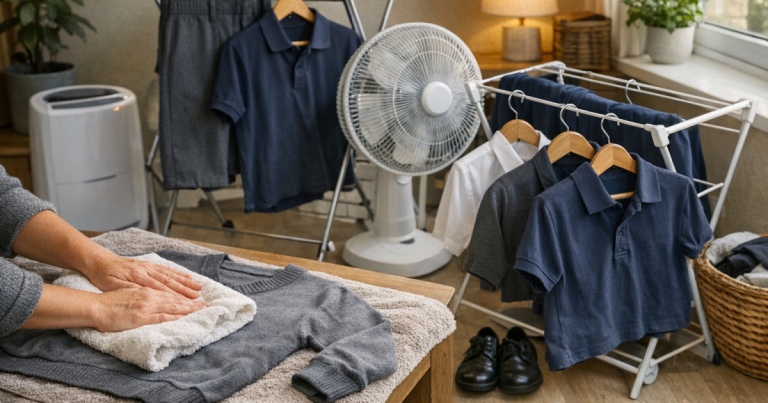
Finishing clothes without making them harsher
If a garment is slightly creased but dry, more time on the rack is rarely the answer. Extra heat can set the crease rather than remove it. Instead, hang the item while still faintly damp, smooth it by hand, or finish it with steam or an iron if the care label allows.
Understanding how moisture, warmth and pressure interact helps you choose the gentlest finish. The explainer on how steam, heat and pressure smooth clothes safely gives useful background for finishing shirts, trousers and uniforms without adding shine or damage.
For everyday laundry, the ideal sequence is wash, spin appropriately, shape, dry with airflow, then finish only where needed. This avoids using the heated rack as a substitute for ironing, steaming or proper hanging.
Mistakes that make overdrying more likely
- Leaving every load overnight without checking: this may be convenient, but quick-drying fabrics can sit warm and dry for hours longer than needed.
- Covering a packed rack: dense layers dry unevenly, so outside items can become harsh while inner items stay damp.
- Drying delicates exactly like towels: fine fabrics need shorter, gentler treatment than heavy cotton.
- Folding garments over one narrow rail for the whole session: this can create ridges and slow drying at the fold.
- Putting clothes away while warm: always let them cool and check seams first, as trapped dampness can lead to stale smells.
- Ignoring the room: a cold, unventilated room can make drying slow and uneven even when the rails are warm.
A simple routine for a mixed household load
For a realistic UK household wash, start by separating the fastest-drying pieces from the heavy ones. Put school shirts, thin tops and underwear where you can reach them easily. Place jeans, sweatshirts and towels with more space and fewer folds.
After the first check, remove thin items that are already dry and shake out anything that has started to stiffen. Rotate the heavier garments so damp seams face outwards. If using a cover, lift it long enough to release moist air before closing it again.
At the final stage, take off each garment as it becomes dry rather than waiting for the slowest towel or hoodie. Let everything cool before folding. If a shirt is almost dry but still slightly relaxed, hang it on a suitable hanger to finish naturally; it will usually look better than if it is left until completely crisp.
FAQ
Can I leave clothes on a heated airer overnight?
It is better to check the load before leaving it for a long stretch. Thick items may need hours, but thin synthetics, shirts and underwear can overdry if they are left warm long after they are dry.
Should clothes touch the heated rails directly?
Everyday cottons often cope with rail contact, but delicate fabrics, prints, viscose and knitwear benefit from more support and less concentrated contact. Spread garments over more than one rail where possible.
Why do clothes feel dry on the rack but damp later?
Warmth can disguise damp seams. Let clothes cool for a few minutes, then check collars, cuffs, waistbands, pockets and hems before folding or storing them.
Does a cover make overdrying worse?
A cover can speed drying, which is useful in cold rooms, but it also means quick-drying items need earlier checks. Lift the cover periodically to release humid air and remove dry garments.
Is an electric drying rack gentle enough for delicates?
It can be, but only if the care label allows indoor air drying and the garment is well supported. Use lower contact, shorter checks and flat drying for fabrics that stretch or distort when wet.
Final thoughts
Using a heated airer well is less about running it for a fixed number of hours and more about managing moisture, airflow and fabric type. Start with the right spin, load the rack loosely, check quick-drying items early, and remove garments in stages. That small change keeps clothes softer, reduces stubborn creases and makes indoor drying kinder to everyday fabrics.