For daily work shirts, school uniforms and healthcare tunics, handheld clothes steamers are best treated as a fast refresh tool rather than a full replacement for an iron. They can relax light creasing, freshen fabric between wears and help awkward areas such as plackets, pockets and pleats look less crushed before you leave the house.
The right choice depends less on glossy features and more on your routine: how many garments you refresh at once, whether your shirts are cotton or easy-care polyester, and whether you need sharp collars or just a neater appearance before work.
At a glance
- Best use: light creases, quick morning refreshes, packed shirts, uniforms worn for short shifts, and garments that are awkward to press flat.
- Less suitable for: crisp collar points, sharp cuff edges, formal pleats, heavy linen creasing, and very crumpled cotton shirts.
- Most important checks: fabric label, steam control, water tank practicality, weight in the hand, cable length, stability when set down, and whether it spits water.
- For UK homes: consider hard-water areas, small utility spaces, shared wardrobes and whether you have somewhere safe to hang garments while steaming.
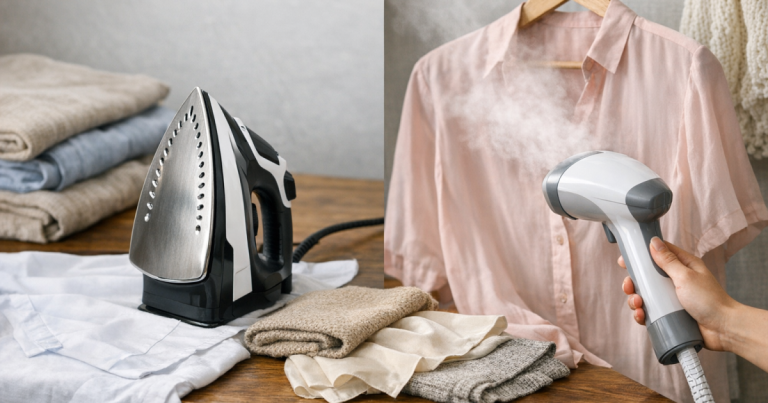
What a handheld steamer can and cannot do
A steamer works by directing hot vapour through the fibres so they relax. That is useful for shirts that have been sitting in a wardrobe, tunics creased under a coat, or uniforms folded in a kit bag. It is also gentler than pressing for many textured fabrics because you are not flattening the surface under a hot soleplate.
It will not create the same finish as a good iron on structured shirt details. Collars, cuffs, button bands and pocket flaps usually need pressure as well as heat if you want a truly crisp result. If your household gets through a large pile of formal shirts every week, it is worth reading whether a steam generator iron is worth the space before relying on a small steamer alone.
For many homes, the useful split is simple: steam for speed and fabric relaxation; iron for sharpness and structure. A handheld model earns its place when it stops one lightly creased shirt becoming a full ironing job.
Step 1: match the steamer to the fabric
Work clothing is rarely just one fabric. A white office shirt, a supermarket polo, a school blazer and a beauty tunic all respond differently, so check the care label before introducing steam.
Cotton and cotton-rich shirts
Cotton can cope well with steam, but it often needs tension. Hang the shirt, fasten the top button, pull the hem gently downwards and steam in slow downward passes. Expect improvement rather than a board-level finish. Collars and cuffs are usually better finished with an iron.
Easy-care polyester uniforms
Polyester uniforms often release light creases quickly, but heat sensitivity matters. Keep the steamer moving, avoid pressing the head hard into the fabric unless the manual allows it, and test on an inside hem if the garment is shiny, printed or coated.
Wool-blend blazers and smart jackets
Steam can lift light creasing in wool-blend jackets, but do not soak the fabric. Hold the steamer slightly away from the surface and let the garment hang afterwards so the fibres cool in shape. Avoid overworking lapels, shoulder pads or fused areas.
Viscose, satin and delicate blouses
Delicate fabrics can water-mark or distort. Use a lower setting if available, keep the nozzle moving and allow the garment to dry fully before wearing. If the label says dry clean only, steam cautiously and avoid saturated patches.
Step 2: check the practical features before choosing
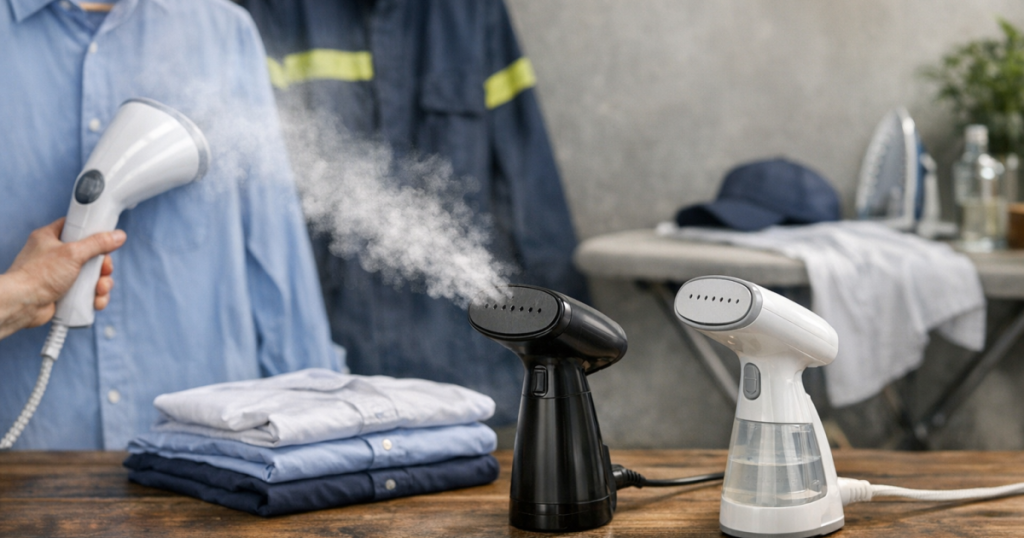
The best handheld clothes steamers for work shirts and uniforms are not necessarily the most powerful-looking. They are the ones you will use safely and consistently on a rushed weekday morning.
- Water tank practicality: check whether the tank is easy to remove, refill and empty. A tiny tank can be fine for one shirt; a larger one is more convenient for several uniforms.
- Comfort and balance: a steamer becomes tiring if it feels top-heavy once filled. If possible, handle it with water in the tank before deciding.
- Steam behaviour: look for reviews that mention steady steam rather than bursts of water. Spitting can leave marks on dark workwear and school trousers.
- Garment support: you need a strong hanger, a door hook or a rail that lets fabric hang freely. Steaming against a crowded wardrobe door is awkward and can dampen nearby clothes.
- Cable length and plug position: many UK bedrooms have limited socket access. Check whether the lead reaches your preferred steaming spot without stretching across a walkway.
- Water advice: hard-water areas can cause limescale. Follow the appliance manual on tap, filtered or deionised water rather than assuming one option suits every model.
- Storage: a compact appliance still needs to cool, dry and stand safely. Do not store it full of water in a wardrobe with clean clothing.
If you are trying to make steaming part of a smoother weekly routine rather than another gadget in a cupboard, a small dedicated area helps. A hook, heat-safe surface and nearby hanger space can make a noticeable difference; the same thinking applies when you set up an ironing and steaming station that works in a real home.
Models worth using as benchmarks
Rather than treating one model as perfect for every uniform, use recognisable steamers as reference points. Check the current version, supplied accessories and user manual before buying, as ranges and included parts can change.
- Philips 3000 Series Handheld Steamer: a familiar compact-style option to compare if you mainly want to refresh one or two shirts at a time. Check tank size, cord length and whether the shape suits your storage space.
- Tefal Access Steam Care DT9100: useful as a benchmark for a fuller handheld format. Look closely at weight when filled, supplied fabric attachments and how easily it stands or rests between garments.
- Russell Hobbs Steam Genie 2-in-1 Garment Steamer: relevant if you like the idea of combining steaming with light pressing. Verify how the pressing function works on collars, cuffs and thicker seams before expecting it to replace a full iron.
- Steamery Cirrus 3 Iron Steamer: a design-led hybrid to compare if finish and storage appearance matter. Check the garment types you actually wear, as a premium feel is only useful if it suits your weekly clothing mix.
Whichever model you consider, read the manual for fabric guidance and descale or clean it as instructed. A poorly maintained steamer can become inconsistent, and mineral residue is the last thing you want on a pale work shirt five minutes before leaving.
Step 3: use the right technique on shirts and uniforms
Good technique matters as much as the appliance. A steamer used too quickly will simply dampen the garment; used too slowly, it can leave wet patches.
- Start with a clean garment. Steam can refresh, but it does not replace washing for sweat, food marks or body odour.
- Hang the garment securely with space behind it. A wardrobe rail, over-door hook or bathroom door can work, provided the area is dry and stable.
- Fasten key buttons or zips so the garment hangs in its proper shape.
- Fill the tank only as directed and let the appliance reach its ready state before touching fabric.
- Work from top to bottom in slow passes, keeping gentle tension on the hem or side seam with your free hand away from the steam path.
- Let the garment air for a few minutes before wearing or storing. Putting a warm, slightly damp shirt straight under a jacket can encourage creasing.
For shirts, focus on the front panels, button band and upper sleeves first because those areas are most visible. For uniforms, prioritise the chest, collar line and front creases created by sitting or folding. If trousers or pleated skirts need defined lines, switch to an iron rather than trying to force a steamer to do a pressing job.
Step 4: fit steaming into a weekly care routine
A handheld steamer is most useful when it supports washing, drying and storage rather than trying to rescue every garment at the last minute. Wash uniforms before stains set, dry them with enough space for air to move, then hang them properly once fully dry.
Storage makes a real difference. Shirts crushed into an overfilled rail will need more work, however good your steamer is. If creasing is constant, look at rail spacing, shelf pressure and how often garments are rotated. You may get better results by organising your wardrobe by fabric, wear and season before upgrading your steamer.
For busy households, a simple rhythm works well: wash uniforms in sets, dry them fully, hang them with breathing room, then steam only the visible light creases before wear. That keeps the steamer as a quick finishing tool, not an emergency repair station.
Common questions
Can a handheld steamer replace an iron for work shirts?
Not completely. It can improve light creases and refresh fabric quickly, but an iron is better for crisp collars, cuffs, seams and formal shirt fronts.
Is steaming safe for school uniforms?
Usually, if the care label allows steam or warm treatment. Be careful with badges, transfers, pleats and synthetic fabrics, and test a hidden area first.
Why does my steamer leave wet spots?
Common causes include holding it too close, moving too slowly, using it before it is ready, overfilling the tank, or mineral build-up. Check the manual and clean it as instructed.
Should I use tap water in a clothes steamer?
Follow the appliance manual. In hard-water areas, limescale can build up, but some manufacturers still specify tap water or advise against certain treated waters.
Are steamers good for odour removal?
They can freshen a garment, but they do not replace washing. If a uniform smells of sweat, food or smoke, laundering is the better fabric-care step.
What stands out
The best choice for work shirts and uniforms is a steamer that suits your actual mornings: quick to fill, comfortable to hold, steady in use and gentle enough for the fabrics you wear most. Use it for light creasing and midweek refreshes, then keep an iron available for sharp structure. That balance protects fabric, saves time and gives everyday clothing a more presentable finish without overworking it.