Embroidered logos take more abuse than most people realise: rubbing against other garments, catching on zips, swelling in hot water and drying stiff if detergent is left behind. The safest way to wash embroidered workwear is to reduce friction, heat and twisting while still getting sweat, food marks and workshop grime out. A small change to sorting, loading and drying can stop a smart uniform looking tired long before the fabric itself has worn out.
Cleaning, repair and withdrawal decisions for PPE or safety-rated workwear, including hi-vis or flame-resistant garments, should be handled by the employer, garment supplier or a qualified safety professional to comply with UK workplace safety requirements and the relevant garment standard.
The short version
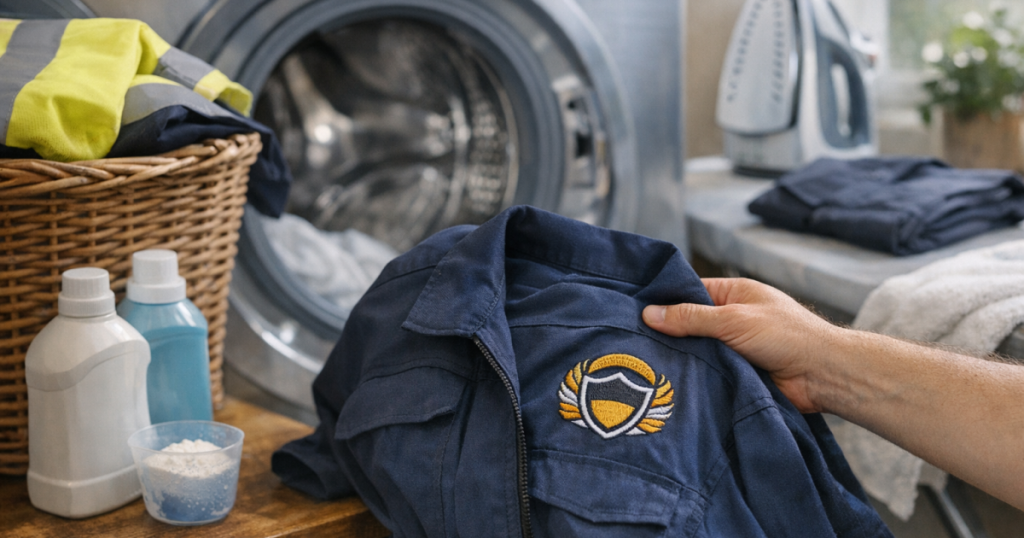
- Turn embroidered workwear inside out before washing to protect the raised threads.
- Close zips, buttons, hook-and-loop fastenings and press studs so they do not scrape the logo.
- Use a mild detergent dose, not extra detergent, and rinse well to avoid stiff residue around the stitching.
- Choose a cool or warm wash that matches the care label; avoid unnecessary hot washes.
- Use a lower spin speed for heavier embroidered garments to reduce tugging and distortion.
- Air dry flat or on a hanger where possible, and keep direct heat away from the logo.
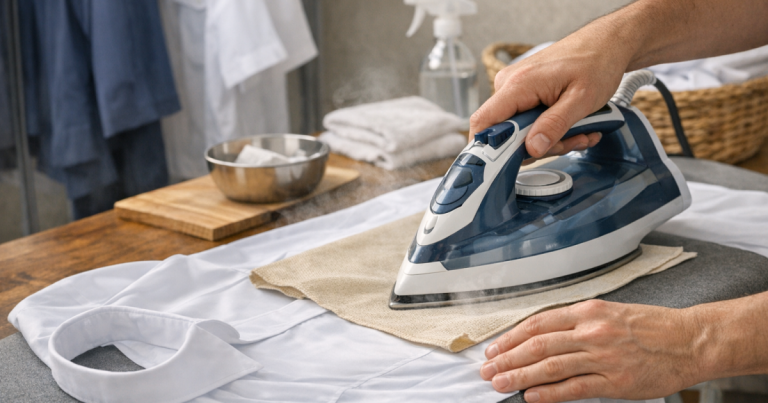
- press from the reverse side only, using a cloth and gentle pressure rather than dragging the iron across the embroidery.
Why embroidered logos loosen in the wash
Most logo problems are caused by abrasion and movement rather than one dramatic washing mistake. Embroidery is made from threads stitched through the garment, often with a backing material behind it. During a busy wash cycle, those raised threads can rub against trouser buttons, metal zip pulls, tool-pocket seams, name badges or the inside of the drum.
Heat can also play a part. Some embroidered areas shrink or tighten differently from the main fabric, leaving puckering around the logo. Heavy spinning then pulls wet fabric away from the stitched area, which can make the logo look distorted even if the thread has not snapped. Detergent residue adds another issue: it can dry into the embroidery and leave it stiff, dull or slightly crusty.
The aim is not to treat every uniform as delicate. Workwear needs to be hygienic, fresh and fit for repeated use. The practical balance is to remove soil effectively while reducing the mechanical stress placed on the stitched logo.
Step 1: Check the garment before it goes in
Give the logo a quick inspection before every wash, especially on uniforms worn daily. Look for loose thread ends, lifting edges, puckering, cracked backing or fraying where the embroidery meets a seam or pocket. If a loose thread is already visible, do not pull it. Trim only long dangling ends with small scissors, leaving the stitched structure alone.
Also check whether the logo is true embroidery, an embroidered patch, a heat-applied badge, or a mix of stitching and transfer print. These details matter because heat-applied elements dislike high temperatures, while raised embroidery dislikes abrasion. If the workwear has both, use the gentler approach.
Empty pockets thoroughly. Coins, keys, pens, screws, drill bits and ID clips can damage embroidery quickly. Ink from a forgotten pen is also much harder to manage once it has run through a uniform load.
Step 2: Sort by fabric weight and hardware
Do not wash fine embroidered polo shirts with heavy cargo trousers, aprons or jackets covered in metal fastenings. The heavier items will batter lighter garments during the cycle. Sort workwear into similar weights: shirts and polos together, sweatshirts together, heavier trousers and jackets separately.
Close every zip and fastening before loading. Hook-and-loop strips are especially rough on embroidered threads, so press them closed fully or wash those garments separately. If a logo is large, textured or placed on the chest where it rubs easily, turn the garment inside out. For smaller batches or higher-value uniforms, a laundry bag can add another layer of protection; the same principles used to pick mesh laundry bags for delicates apply here too: choose a bag large enough for movement, not one that compresses the garment tightly.
Step 3: Pretreat marks without attacking the stitching
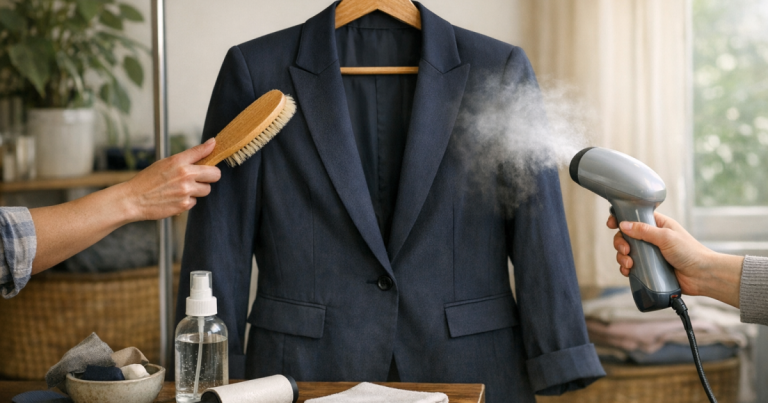
Workwear often carries mixed soiling: sweat, deodorant, food, oil, dust, pollen, mud or general workplace grime. Treat the fabric around the logo carefully rather than scrubbing across the embroidery. Use a clean, damp cloth or a soft laundry brush on the surrounding fabric, working from the outer edge of a mark towards the centre.
Avoid aggressive rubbing directly over stitched lettering. Raised thread can fuzz, loosen or lose its clean edge if scrubbed. For collars, cuffs and underarms, pretreat those areas separately and keep stain products away from the embroidery unless the garment label and product instructions make it clear they are suitable.
Never use chlorine bleach on embroidered logos unless the garment supplier specifically says it is safe. Bleach can weaken thread, change logo colours and leave the surrounding fabric uneven. Oxygen-based stain removers may still be unsuitable for some logo threads or darker garments, so test discreetly on a hidden area if the care label allows it.
Step 4: Choose a sensible wash cycle
Use the care label as the limit, not as a challenge. If the label permits a high temperature but the garment is only lightly soiled, a cooler wash is often kinder to embroidery. For everyday office uniforms, retail polos and branded work shirts, a cool or warm wash with a normal or easy-care programme is usually enough when garments are not heavily stained.
For sweaty work shirts, the problem is often trapped odour rather than visible dirt. Do not keep raising the temperature if the smell keeps returning; check detergent dose, drum loading, drying speed and residue build-up instead. The steps in stopping work shirts smelling after washing are useful when embroidered uniforms come out clean-looking but not fresh.
Lower the spin speed if the garment is heavy, has a large chest logo, or comes out twisted. A very fast spin saves drying time, but it can pull at wet stitching and crease the logo area sharply. If your machine has a mixed load or easy-care setting, it may be gentler than a long cottons cycle for embroidered polos and shirts.
Step 5: Use detergent carefully
More detergent does not mean cleaner embroidery. Overdosing leaves residue in raised stitching and in the backing behind the logo. That residue can dry stiff, attract grime and make colours look dull. Use the amount recommended for your water hardness, drum size and soil level, then reduce slightly if you regularly see suds left at the end of the rinse.
Non-bio detergent is a common choice for uniforms worn close to the skin, particularly where staff or children have sensitive skin. It is also a sensible starting point for regular logo care because the focus is on consistent, gentle cleaning rather than heavy-duty stain stripping every time. If you are choosing detergent for family or school uniform loads as well, the advice on how to choose non-bio detergent for school uniforms transfers well to branded workwear.
Avoid fabric conditioner on performance workwear, hi-vis garments, waterproof finishes or flame-resistant fabrics unless the label allows it. Conditioner can coat fibres and may reduce the intended function of specialist fabrics. On ordinary cotton-rich polos, it can also build up around embroidery and make the logo feel waxy over time.
Step 6: Load the drum so garments can move
An overfilled washing machine is hard on embroidered workwear. When garments cannot move freely, logos are pressed against other items for the whole cycle. Soil also rinses less effectively, which increases the chance of detergent sitting in the stitching.
Aim for a loosely filled drum rather than a packed one. You should be able to place a hand at the top of the load without forcing it. If you are washing several embroidered sweatshirts or hoodies, split them into smaller loads. Heavy wet cotton pulls more strongly on stitched areas than lightweight shirts.
Step 7: Dry without shrinking or stiffening the logo
Remove embroidered garments promptly when the cycle finishes. Leaving wet workwear crumpled in the drum encourages deep creases around the logo and can make backing materials dry in a distorted shape. Shake each garment gently from the shoulders or waistband, then smooth the logo with your hand from the reverse side.
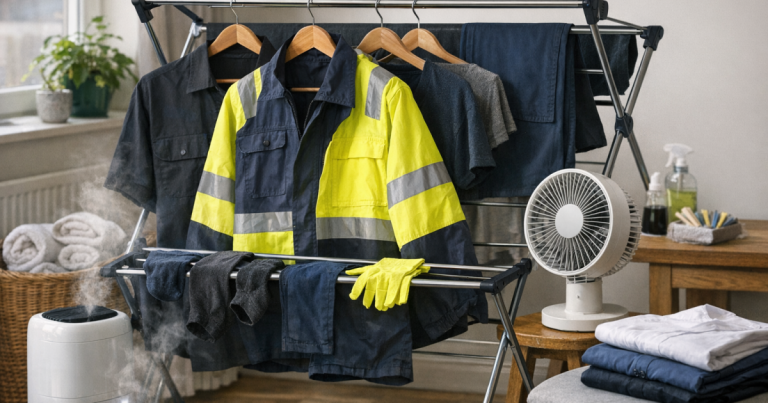
Air drying is the safest default for embroidered logos. Hang shirts and polos on broad hangers, or dry heavier garments flat over an airer so the wet fabric does not drag down from the logo. Keep garments away from radiators, direct high heat and strong sunlight, which can affect both thread colour and fabric shape.
If the care label allows tumble drying, use a low heat setting and remove the garment while it is slightly damp, then finish on a hanger. Do not tumble dry items with loose stitching, lifting patches or heat-applied logo elements unless the supplier confirms it is suitable.
Step 8: Press the garment, not the raised threads
Ironing can make embroidered workwear look sharp again, but direct pressure on the logo can flatten, glaze or distort the thread. Turn the garment inside out and press from the reverse side. Place a clean cotton cloth or towel underneath the embroidered area so the raised threads have somewhere to sink rather than being crushed against the board.
Use steam cautiously. Too much moisture can leave puckering around some stitched logos, especially on thinner polo fabric. Press and lift the iron rather than dragging it across the embroidery. If the garment has synthetic fibres, keep to the care label temperature and avoid long contact in one spot.
For trousers, jackets or uniforms where pressing marks are a separate issue, it is worth reading about how to stop work trousers going shiny when ironing, as the same light-pressure approach helps preserve a professional finish.
What to do if the logo is already loosening
If a logo is beginning to lift, fray or pucker, change the wash method immediately. Turn the garment inside out, place it in a laundry bag, use a gentler cycle and air dry only. Avoid tumble drying until the problem is assessed.
Do not pull loose embroidery threads to “tidy” them. Pulling can unravel surrounding stitches. If the garment is employer-issued, report the damage before attempting repair, particularly if the uniform must meet brand, hygiene or safety standards. For personal branded workwear, a local alteration service or embroidery supplier may be able to secure loose stitching, but the result depends on the backing, fabric and how far the damage has progressed.
Things readers ask
Can I wash embroidered workwear with normal clothes?
You can if the fabrics are similar in weight and colour, but it is safer to keep workwear separate from towels, jeans, heavily zipped garments and anything with rough fastenings.
Should embroidered uniforms be washed inside out every time?
Yes, for regular workwear it is a good habit. Turning garments inside out reduces rubbing on raised thread and helps preserve the logo edge.
Is a hot wash better for dirty embroidered workwear?
Only use a hot wash if the care label allows it and the garment genuinely needs it. Heat can increase puckering, fading and stress on logo backing.
Can I tumble dry embroidered polo shirts?
Only if the care label allows tumble drying. Use low heat, remove while slightly damp and avoid tumble drying any garment with loose stitching or heat-applied logo details.
Why does the logo feel stiff after washing?
Stiffness is often caused by detergent residue trapped in the embroidery. Use a measured dose, avoid overloading the drum and consider an extra rinse for logo-heavy garments.
Main lessons
Embroidered workwear lasts longer when the washing routine protects the stitching as well as the fabric. Sort by weight, close fastenings, turn garments inside out, use a measured detergent dose and avoid unnecessary heat. The logo should come out clean, flat and flexible, not scrubbed, twisted or dried into a stiff shape.
For everyday uniforms, the best routine is consistent rather than harsh: small loads, sensible cycles, prompt drying and careful reverse-side pressing. That approach keeps branded workwear looking professional while reducing the chance of loose threads, puckered logos and early replacement.